
Design and print award certificates for your students — a guide for school staff.
Award Certificates lets you design a certificate once and then print personalized certificates for the students on your GPA & Scores report.
1. Opening Award Certificates
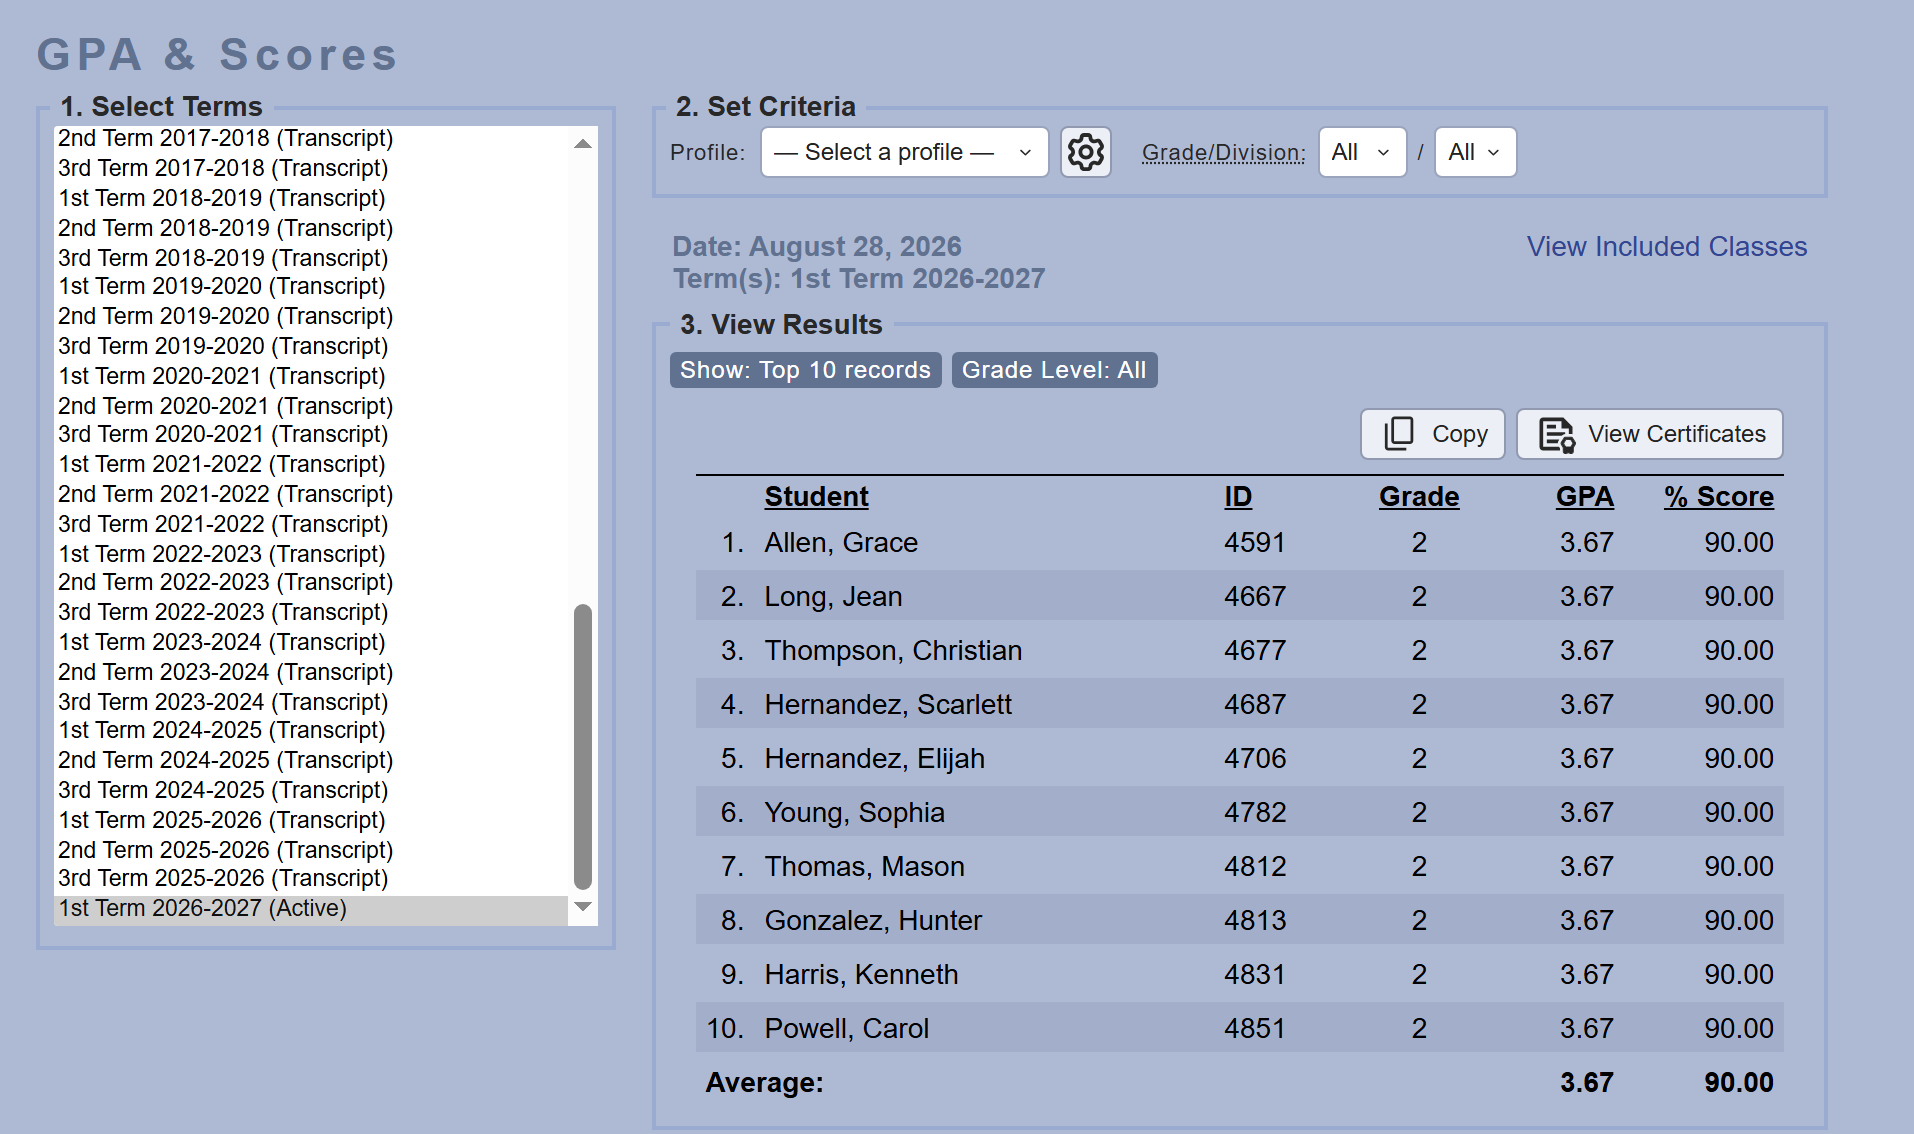
Certificates are created from the GPA & Scores report; the students on that report are the students who receive certificates.
- 1Go to Administrator Reports → GPA & Scores and select the term (or terms) you want.
- 2Set your criteria — for example a saved profile such as Honor Roll, or a grade level. The students listed in the results are the ones who will get certificates.
- 3Click View Certificates above the results table.
 1
2
3
1
2
3
2. The certificate page
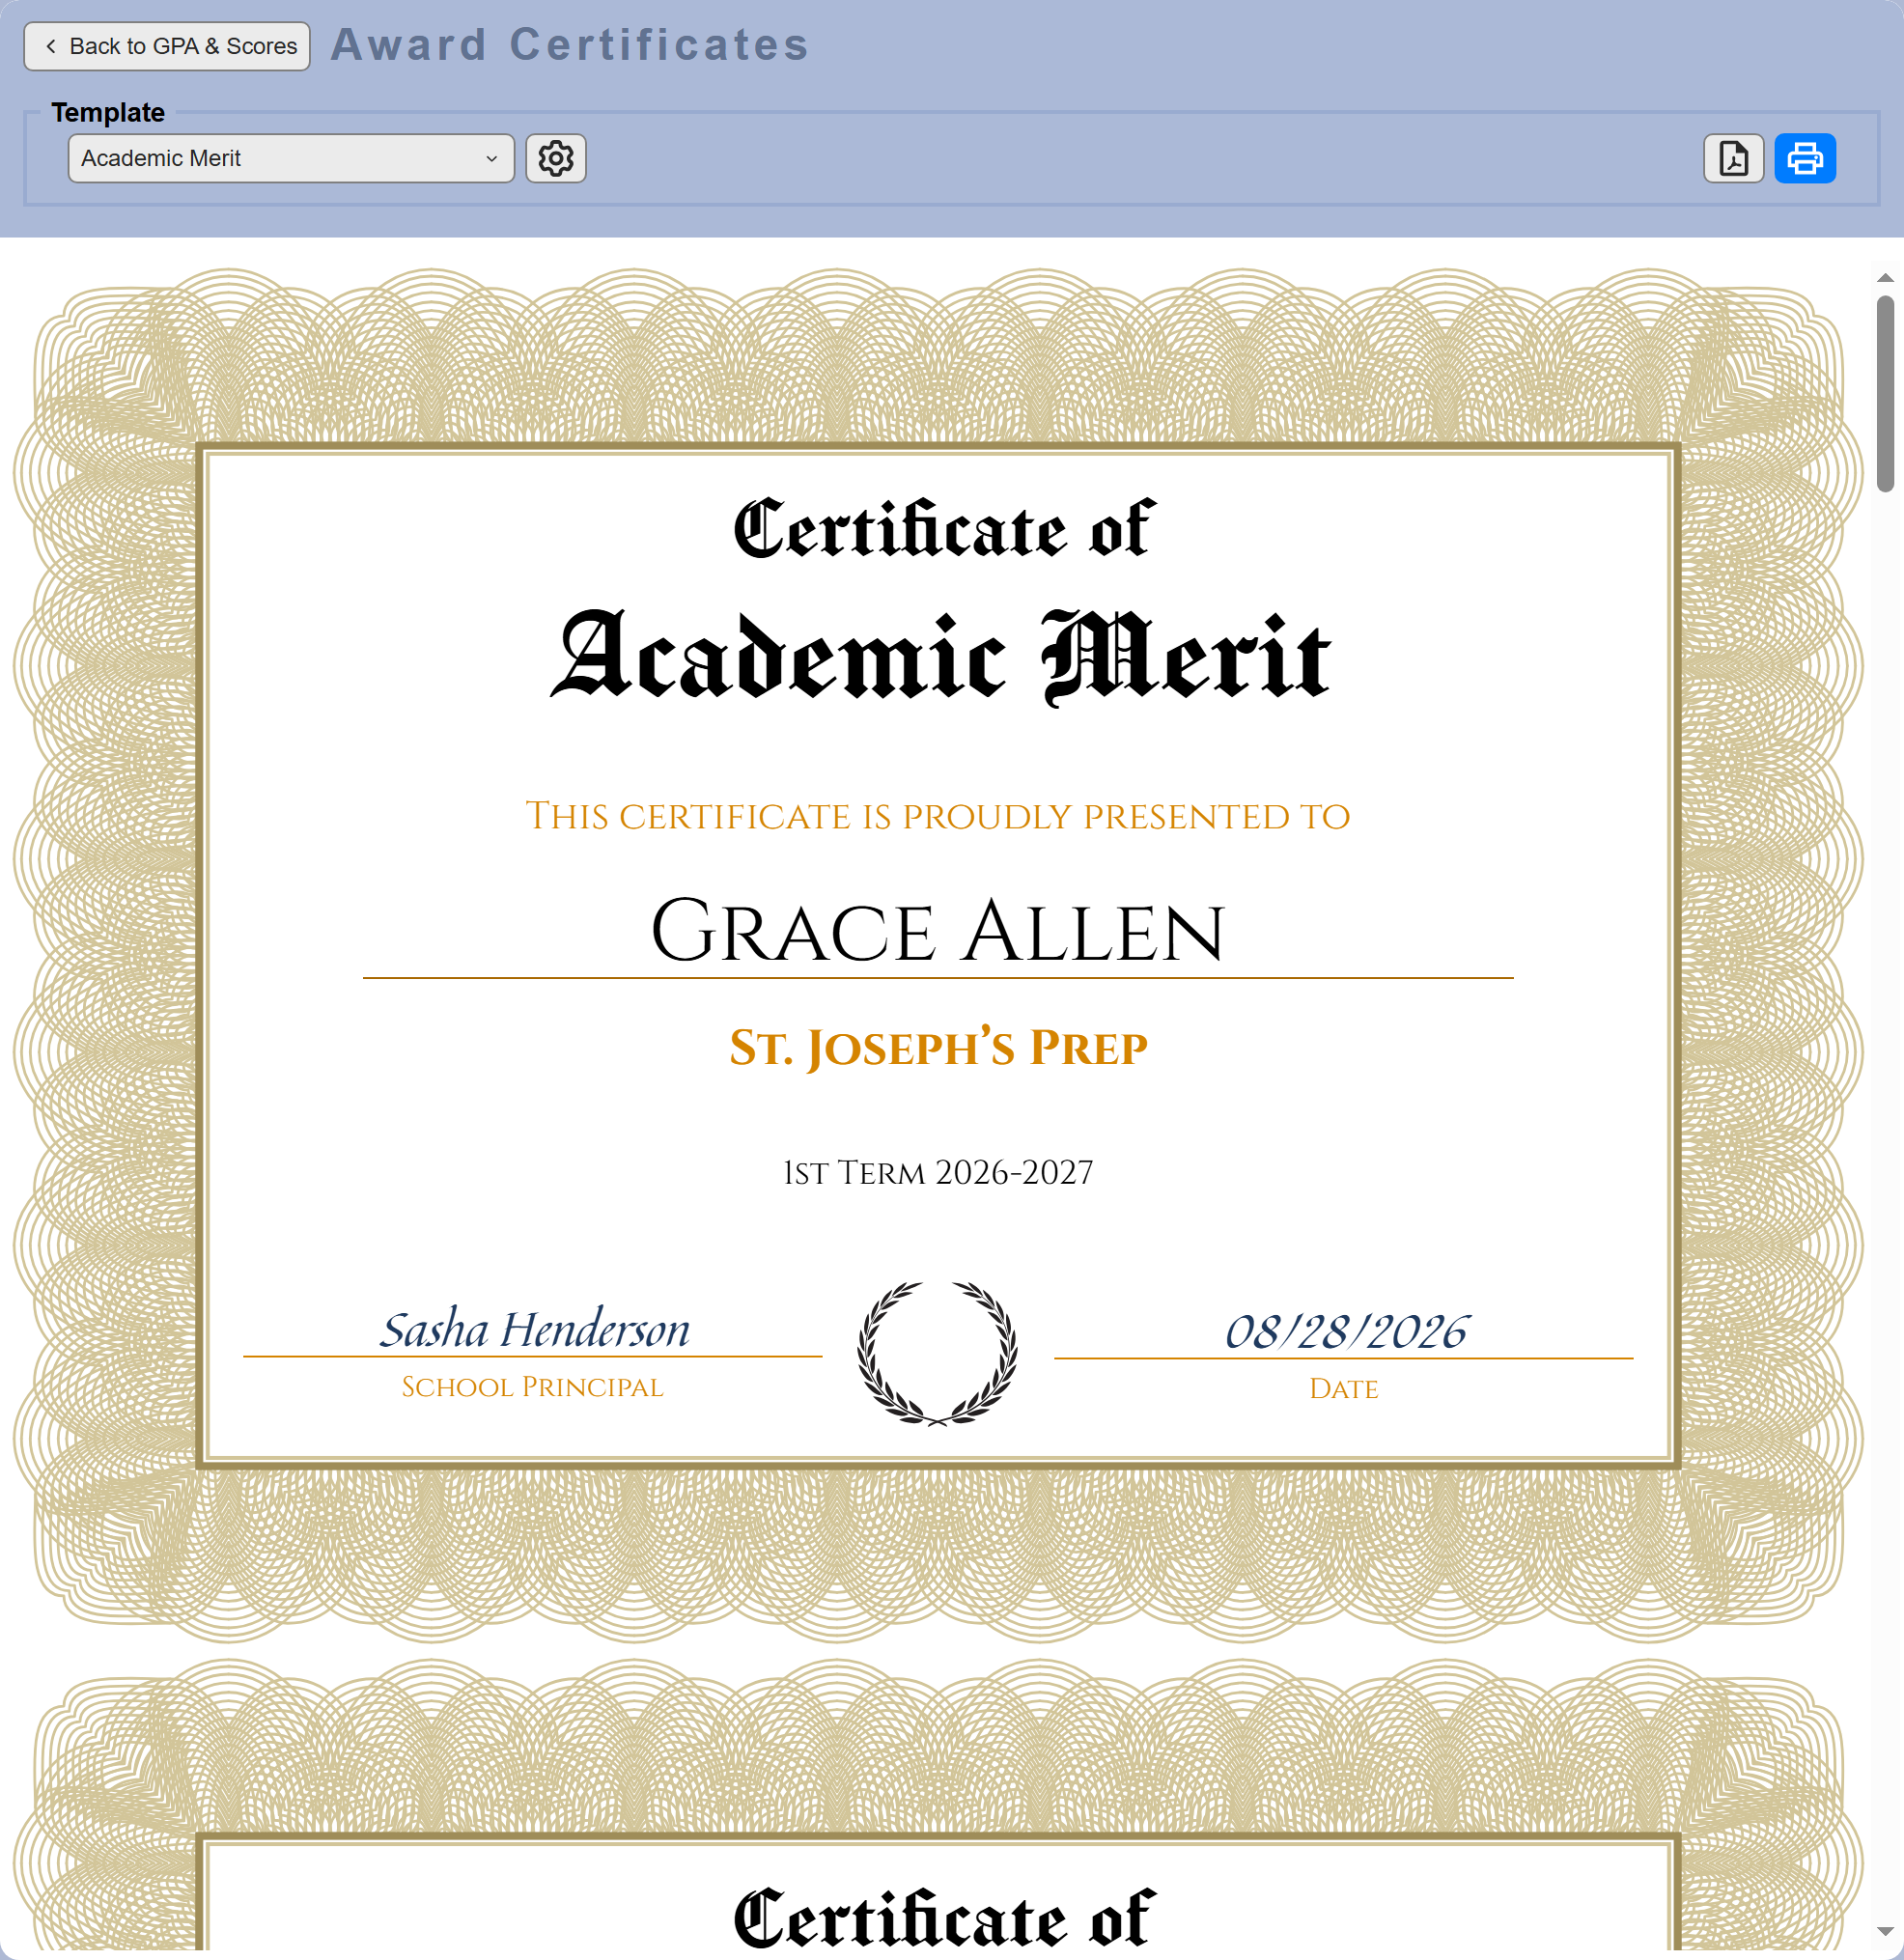
The certificate page opens showing your students’ certificates, using the selected template. The top bar gives you these controls.
- 1Template — choose which certificate design to show.
- 2Edit (gear) — open the selected certificate in the editor.
- 3PDF — download all certificates as one PDF file.
- 4Print — print all certificates from your browser.
1
2
3
4
Your certificates and Gradelink templates
The Template list shows your school’s certificates first, followed by the built-in Gradelink templates (marked with **). Below are the built-in templates; (L) and (P) indicate landscape or portrait layouts:
- ** Academic Merit (L)
- ** Achievement (P)
- ** Blank Template
- ** Honor Roll (L)
- ** Principal’s List (L)
- ** Super Citizen (L)
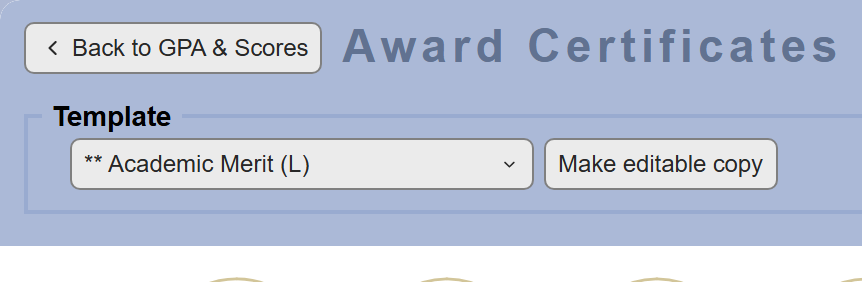
Gradelink templates can’t be edited or deleted directly — when one is selected, the gear is replaced by a Make editable copy button. Your copy is a normal certificate you can edit freely.
3. Creating and managing certificates
- 1In the Template list, pick a starting point (any Gradelink template, or ** Blank Template for an empty page).
- 2Click Make editable copy. The copy opens in the editor.
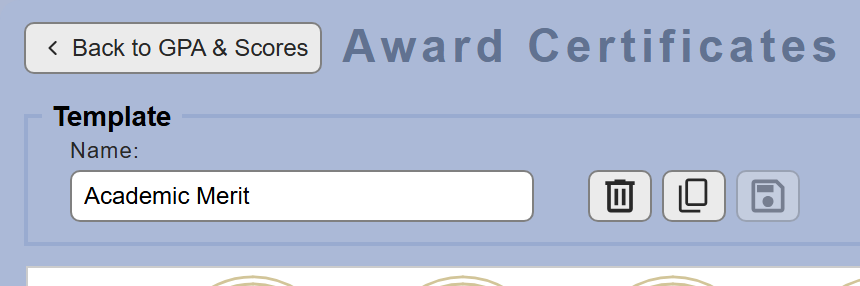
- 3Rename the template using the Name box and click the save icon.
 1
2
1
2
 3
3
4. The certificate editor
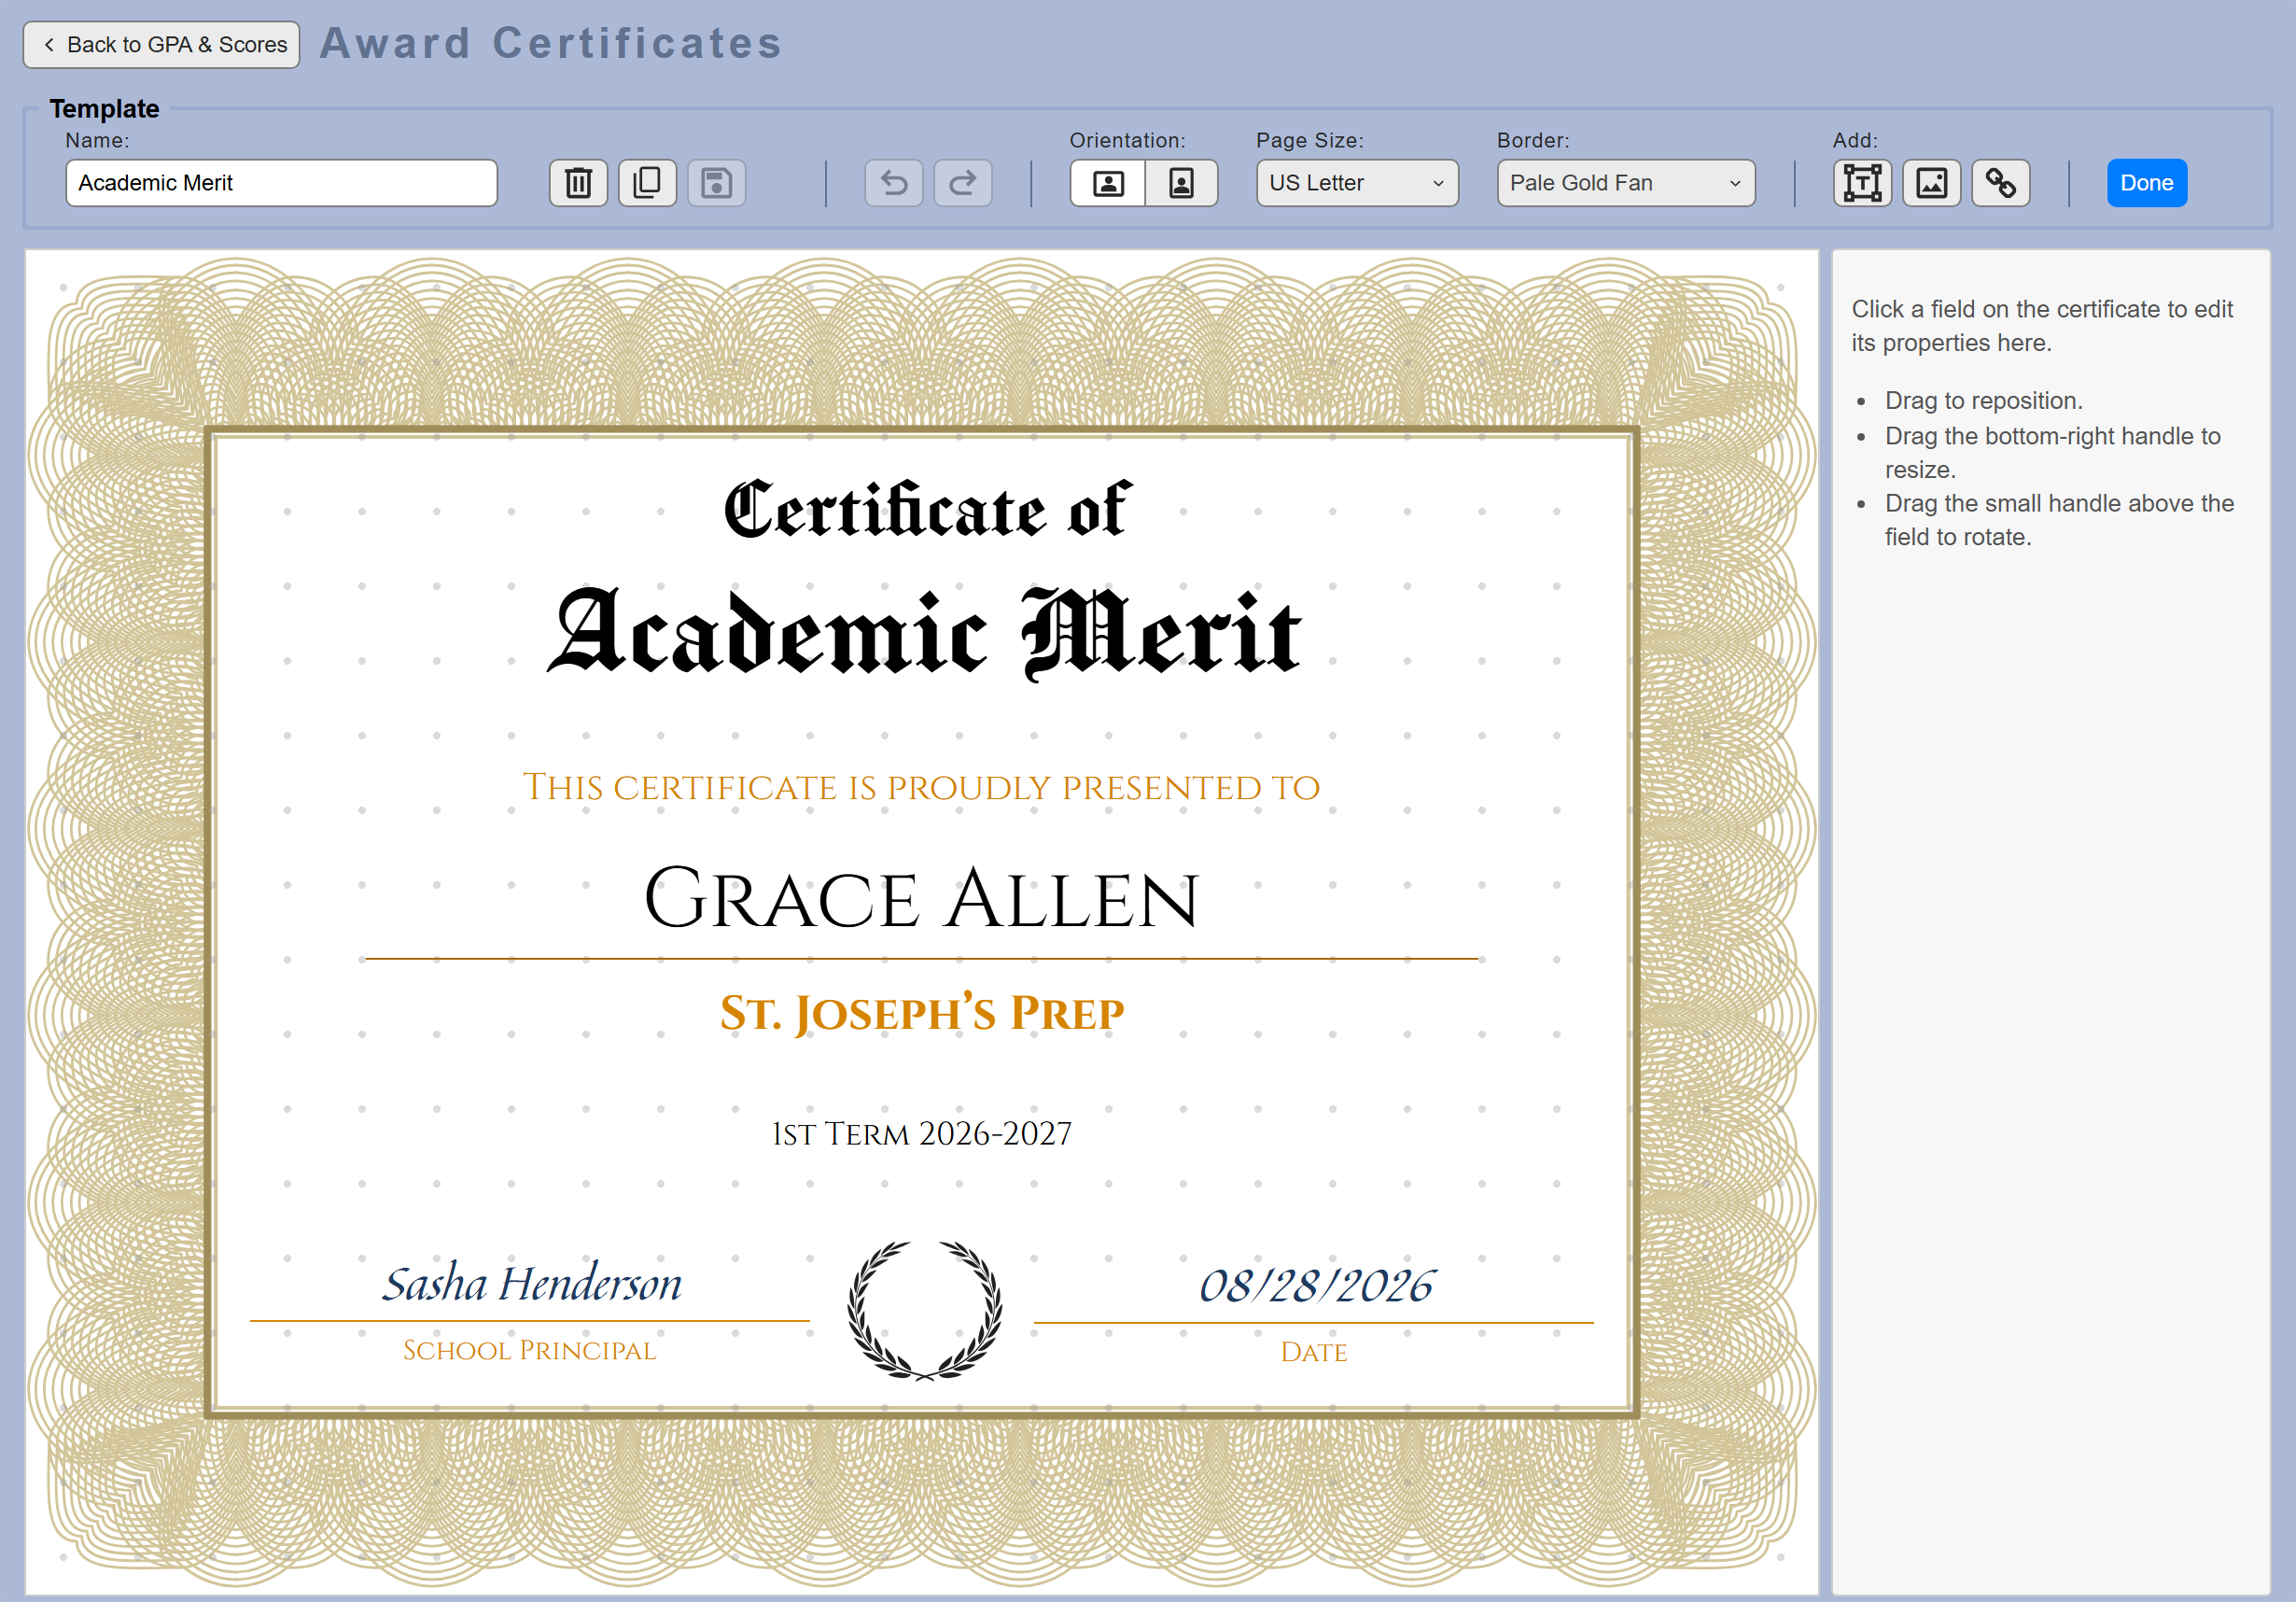
The editor has three areas:
- 1The canvas — your certificate page. Click any item on it to select it; drag to move it. The faint dot grid helps with alignment and never prints.
- 2The toolbar — name, save, undo, page setup, and the Add buttons.
- 3The properties panel — settings for whatever is selected on the canvas.
 1
2
3
1
2
3
4.1 The toolbar
 1
2
3
4
5
6
7
8
1
2
3
4
5
6
7
8
- 1Name — the certificate’s name, as it appears in the Template list.
- 2Delete / Duplicate / Save — Action icons. Save lights up as needed.
- 3Undo / Redo — step backwards or forwards through your edits.
- 4Orientation — landscape or portrait.
- 5Page Size — US Letter or A4.
- 6Border — choose a decorative border, or none.
- 7Add — add a text, image, or data item to the canvas.
- 8Done — close the editor and return to the certificates.
4.2 Page setup
Pick Orientation and Page Size to match the paper you print on. Items keep their positions when you switch, so check the canvas afterwards — items near an edge can end up outside the page.
The Border menu previews each border style. Every border automatically fits both orientations and both page sizes.
4.3 Adding items
Use the three Add buttons to put new items on the canvas:
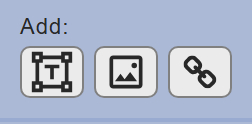
- Text — a text box for anything you type: titles, messages, signature lines.
- Image — a picture: your school logo, a seal, or any uploaded image.
- Data — a placeholder that is filled in per student, like the student’s name or GPA.
New items appear on the canvas selected.
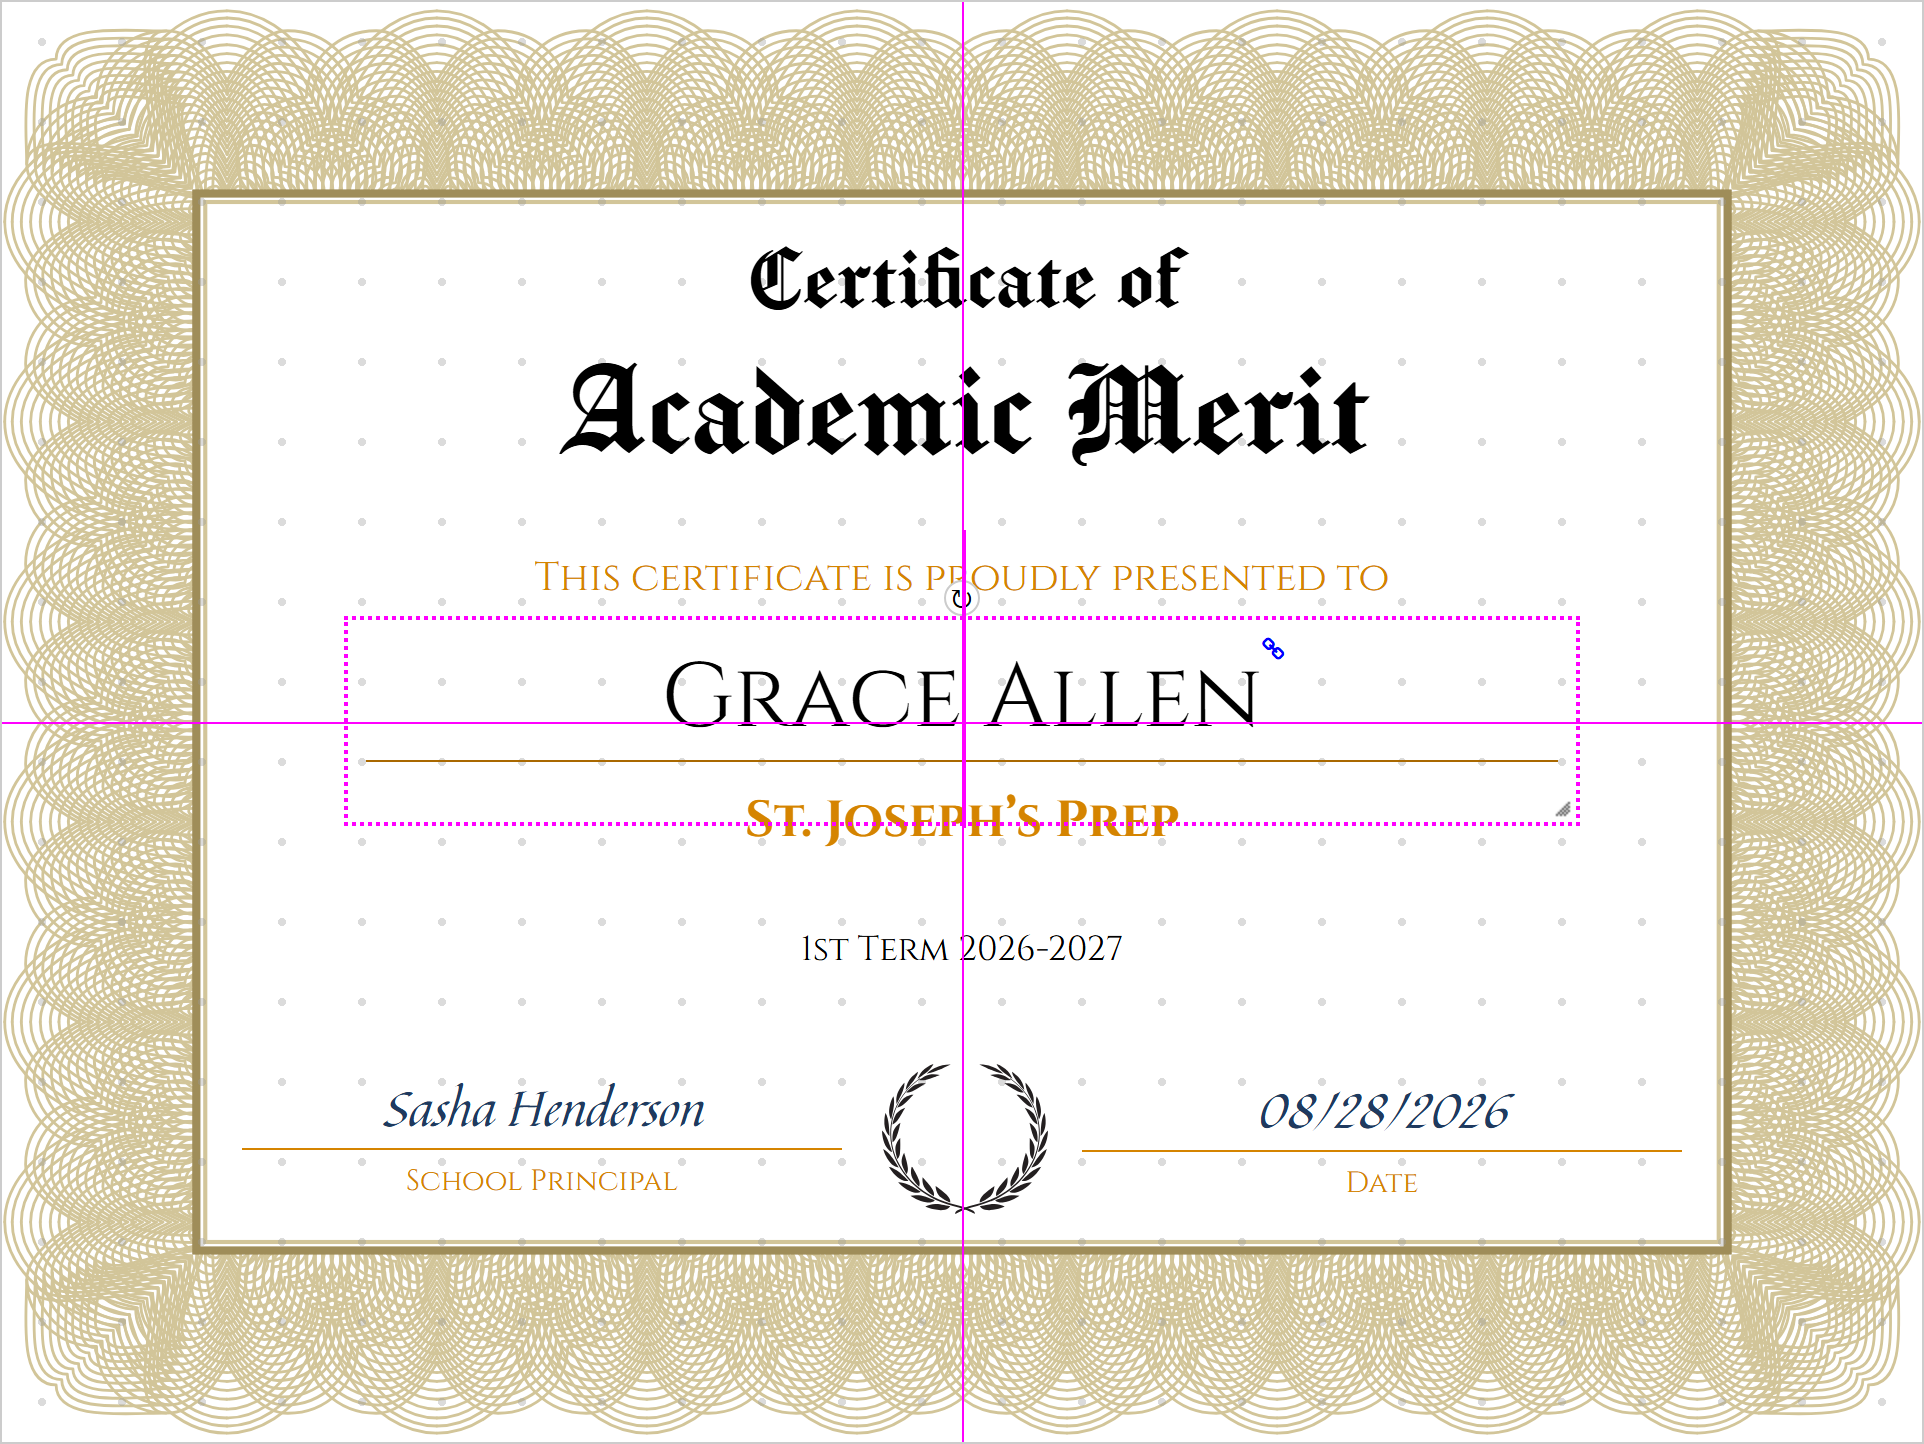
Actions you can perform on the selected items:
- Moving — drag any item to position it or use ← → ↑ ↓.
- Resizing — drag the resize handle on the item’s bottom-right corner.
- Rotation — drag the handle above an item to rotate it.
- Alignment — guidelines appear when an item’s center lines up with the middle of the page or with another item.
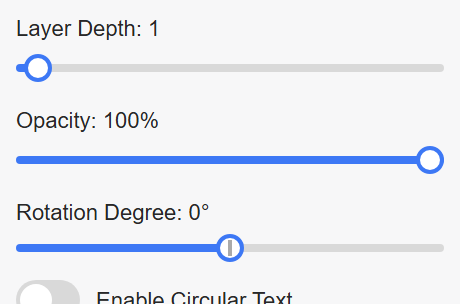
Each item has the following controls in the properties panel:
- Layer Depth — Controls how items are stacked; lower values sit behind, higher values in front.
- Opacity — makes an item see-through, which works well for watermark-style images.
- Rotation — An additional way to rotate a selected item.
4.4 Text items
To edit the text, double-click it and type directly on the certificate. The box grows as you type; press Enter for a new line and Esc when you’re done.
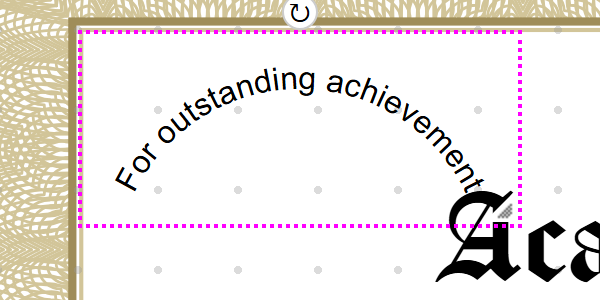
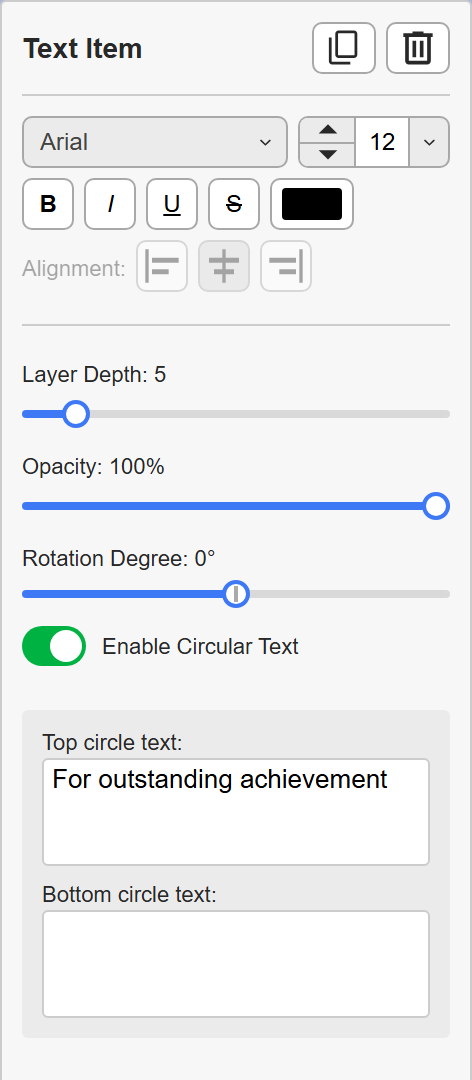
Circular text: turn on Enable Circular Text to wrap the text in a full circle — useful for seals. A second field appears for text along the bottom of the circle. The circle’s size follows the item’s width. If your text has multiple lines or mixed styles, you’ll be asked to confirm first, because circular text is a single line in one style (Undo restores your original text).
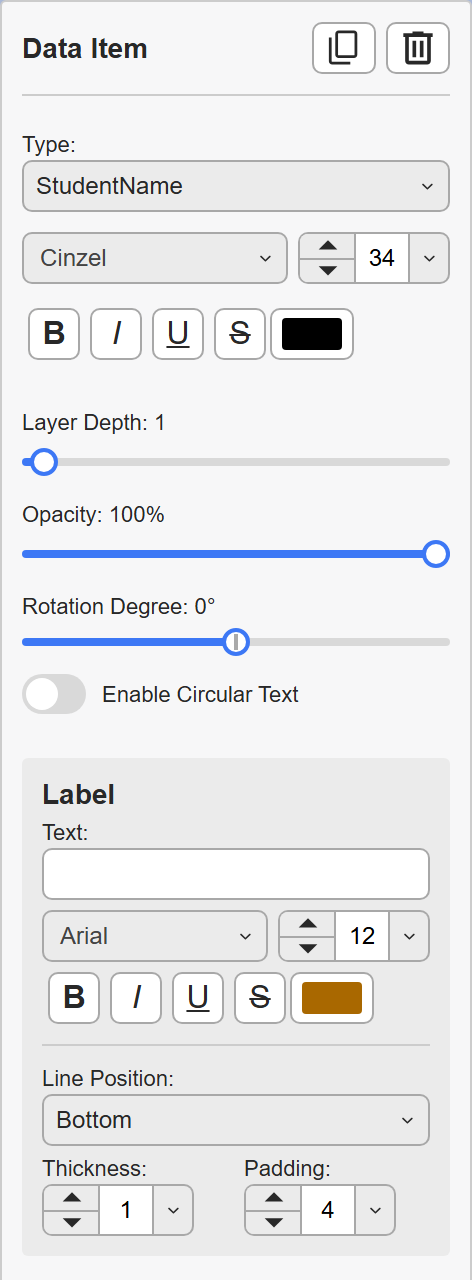
4.5 Data items
A data item shows information that changes per student. In the editor you see the values for the first student on your report, so the layout is realistic; when you print, each student’s certificate shows their own values.
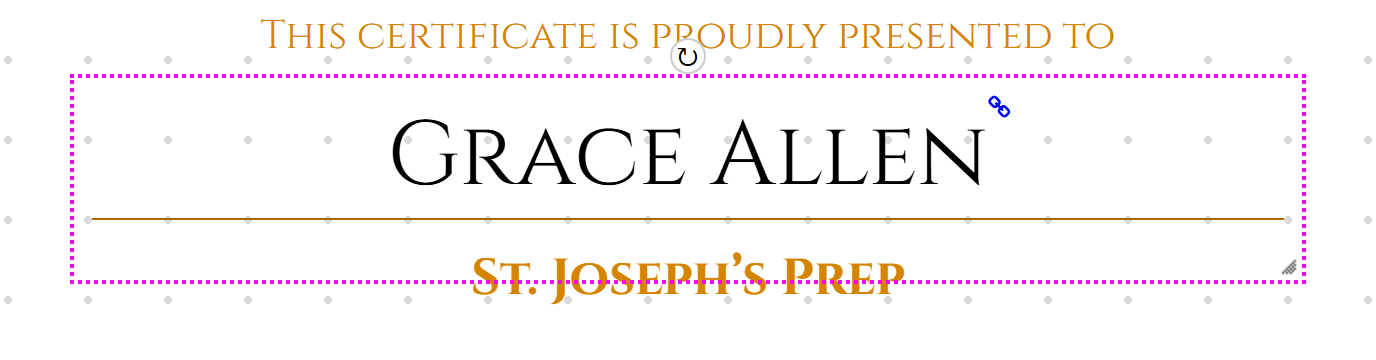
 marks it as a data item; the badge never prints.
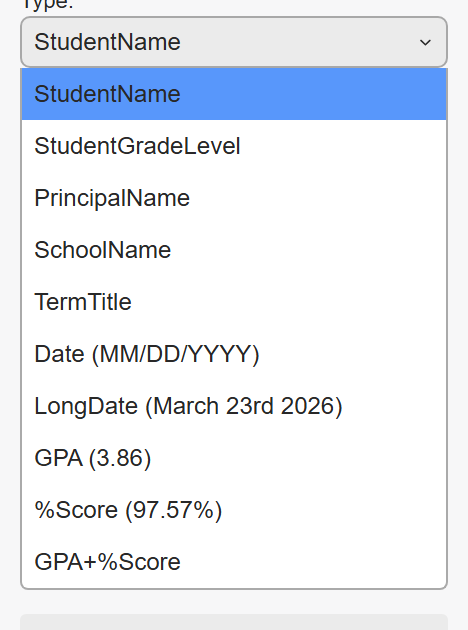
The Type menu picks what the item shows:
Labels: a data item can carry its own caption — like the “School Principal” caption under the signature line — positioned above, below, left, or right, with its own font settings. Above/below labels draw a separator line; left/right labels use a character such as a colon.

 1
2
3
4
1
2
3
4
4.6 Image items
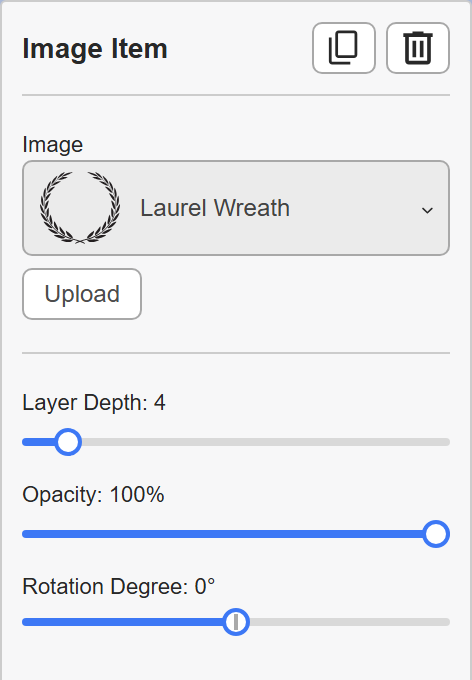
The image picker lists your school’s uploaded images. Picking an image applies it immediately, and the item keeps the image’s natural proportions when you resize it.
To upload: choose a file with the file button, then click Upload. The new image is added to your school’s list and applied to the selected item right away. Only image files (such as PNG, JPG, or GIF) are accepted — anything else shows a message asking for a graphical file.
 1
2
3
1
2
3
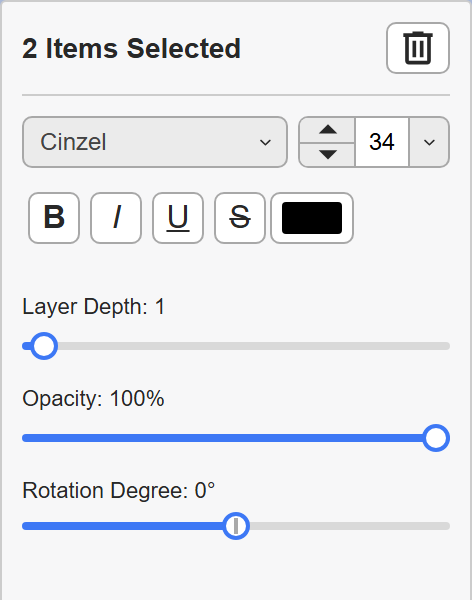
4.7 Selecting / Changing multiple items at once
- With Mouse — Drag a box on an empty part of the canvas to select multiple items at once
- With Keyboard — Hold Ctrl (Cmd on Mac) and click items to select more than one
- The properties panel switches to the settings that apply to the whole group

5. Saving and returning to the report
Click the save icon in the toolbar to save your changes — it dims when everything is saved. Done closes the editor and shows the certificates; Back to GPA & Scores (top left) leaves certificates entirely and returns to the report.

6. Keyboard shortcuts
All shortcuts below were verified in the current version. On a Mac, use Cmd where Ctrl is shown. Item shortcuts apply while an item is selected on the canvas and you are not typing in a text field.
| Keys | Action | Where it works |
|---|---|---|
| Delete or Backspace | Delete the selected item(s) — the whole group if several are selected | Editor canvas |
| Ctrl+C / Ctrl+V | Copy the selected item / paste a copy (each paste lands slightly offset, on top) | Editor canvas |
| Ctrl+Z | Undo | Whole editor, including while editing text on the canvas |
| Ctrl+Y or Ctrl+Shift+Z | Redo | Whole editor, including while editing text on the canvas |
| ← → ↑ ↓ | Nudge the selected item 1 pixel (moves the whole group in a multi-selection) | Editor canvas, after clicking an item |
| ← → | Rotate the selected item 1° at a time (up/down keys do nothing in this mode) | Editor canvas, after clicking the rotate handle |
| ← / ↑ shrink, → / ↓ grow | Resize the selected item 1 pixel at a time, keeping its proportions | Editor canvas, after using a resize handle |
| Double-click a text item | Edit the text in place | Editor canvas |
| Enter | New line (while editing text in place) | In-place text editing |
| Esc | Finish editing text in place (the item stays selected) | In-place text editing |
| Double-click the + marker | Resize a text box to fit its text | Editor canvas |
| Double-click the rotate handle or Rotation slider | Reset rotation to 0° | Editor canvas / properties panel |
| Ctrl+click | Add or remove an item from a multi-selection | Editor canvas |
| Enter | Choose the highlighted button | Dialogs |
| Esc | Cancel (or dismiss a one-button dialog) | Dialogs |
| Tab / Shift+Tab | Move between the dialog’s buttons | Dialogs |