Scenario:
- How do I create and publish a School News post?
- How do I add images, video, tables, or files to a post?
- How do I print or share a School News page?
- How do I turn School News or Teacher Pages on or off?
- How do teachers create announcements and class pages?
- Why can't parents or students see School News or Teacher Pages?
Solution:
School News and Teacher Pages are in the Communicate tab. Use School News for school-wide posts, such as a newsletter. Use Teacher Pages for each teacher's announcements and class pages. Both use the same editor, so the steps for formatting, images, video, tables, and files are the same in either place.
Log in as an administrator. Teachers can also use these tools if an administrator has enabled permission for them.
To get started:
- Log in as an administrator (or as a teacher, if permissions are enabled).
- Click the Communicate tab.
- Open the School News sub-tab (first) or the Teacher Pages sub-tab (second).
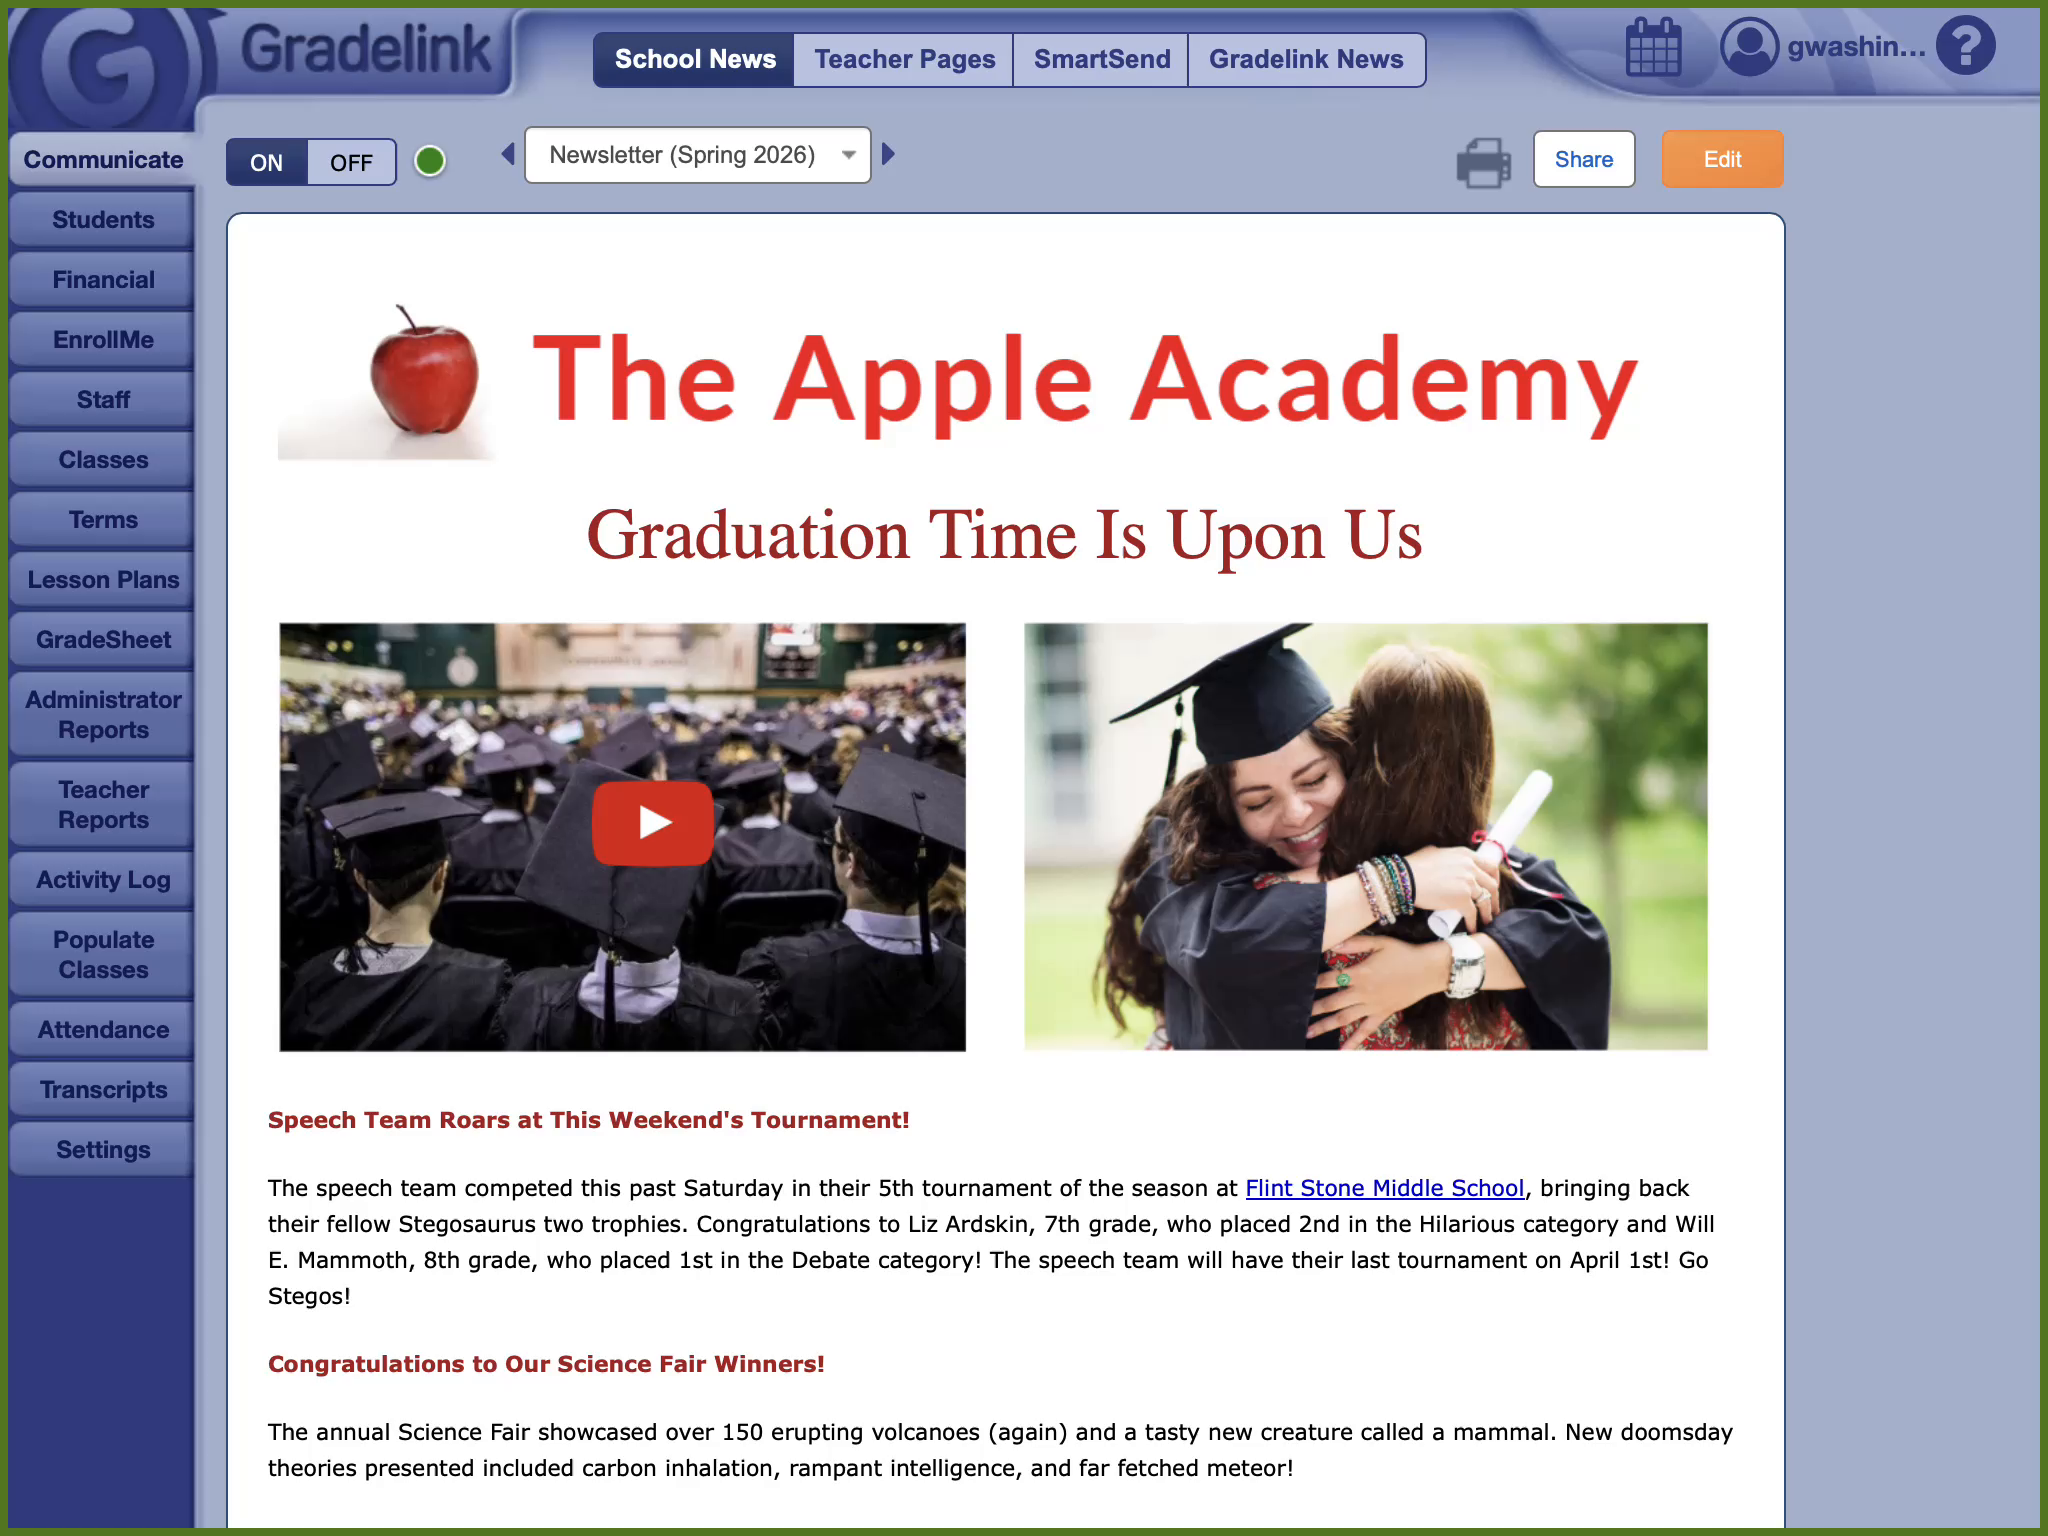
School News shows a preview of the selected post.
Turn the feature on or off:
Each feature has an ON/OFF toggle on the left. A green indicator appears when the feature is on. Open School News or Teacher Pages, then:
- Use the toggle to turn the feature on or off.
Note: When the toggle is off, the feature is not visible to staff, parents, or students.
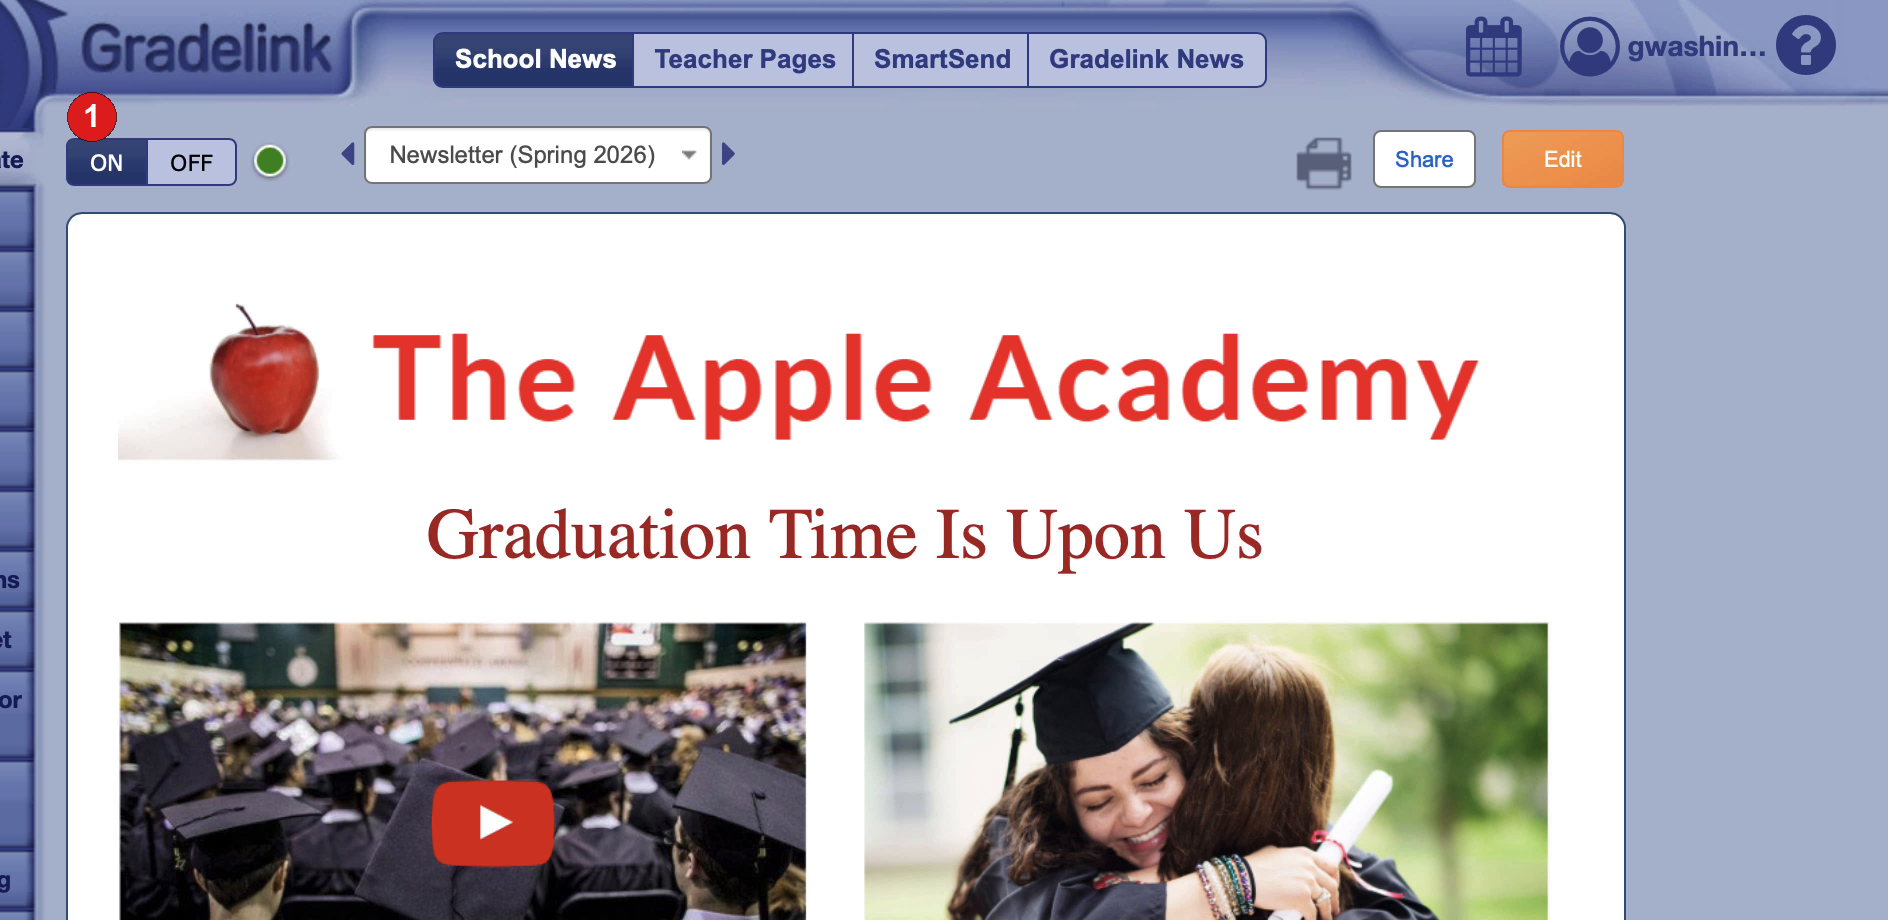
Use the dropdown to choose a post. Left and right arrows move between posts. Published posts show an orange Published date under the dropdown.
- Open the dropdown and select the post you want, or use the arrows to move between posts.
- Click the Print icon to print the page.
- Click Share to copy a public page link or an embed link for other websites.
- Click Edit to open the post in the editor.
Create a new post:
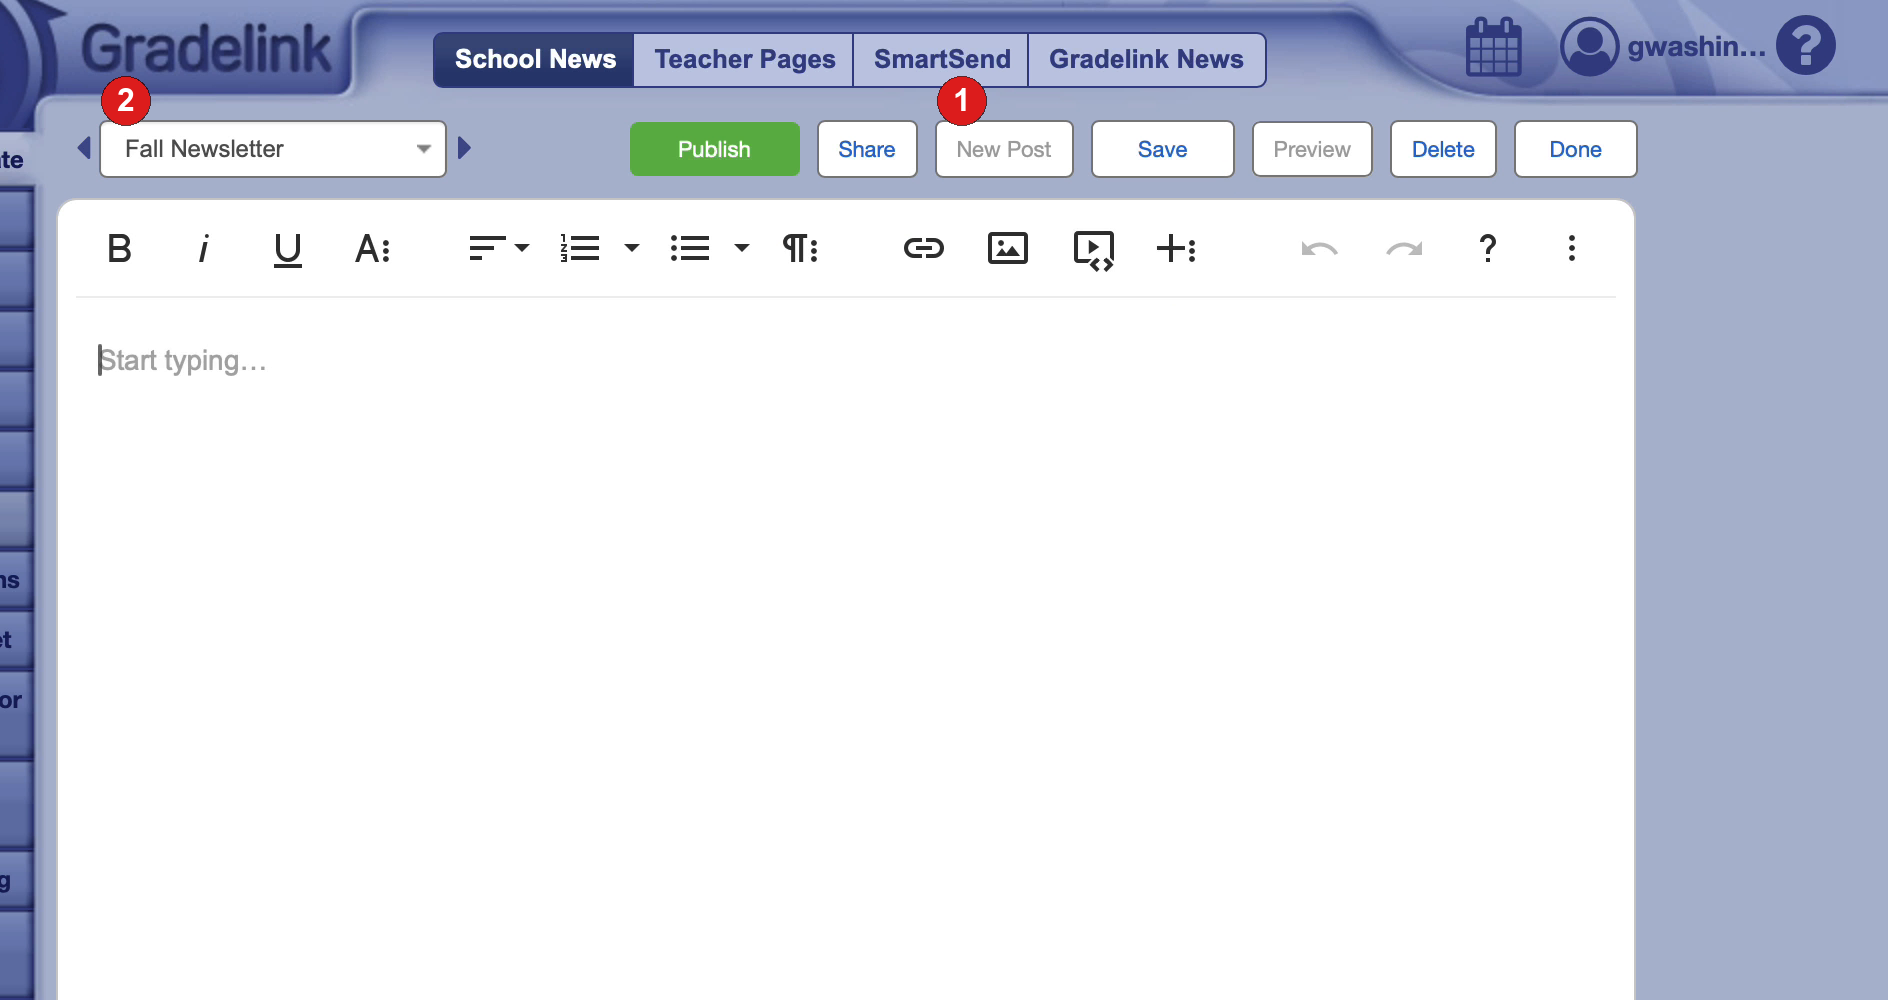
If you are still on the overview, click Edit first. New Post starts a blank post. The placeholder text is Start typing....
- Click New Post.
- Enter a title in the dropdown. For example: Fall Newsletter.
Then add your content in the area below the toolbar.
Format text:
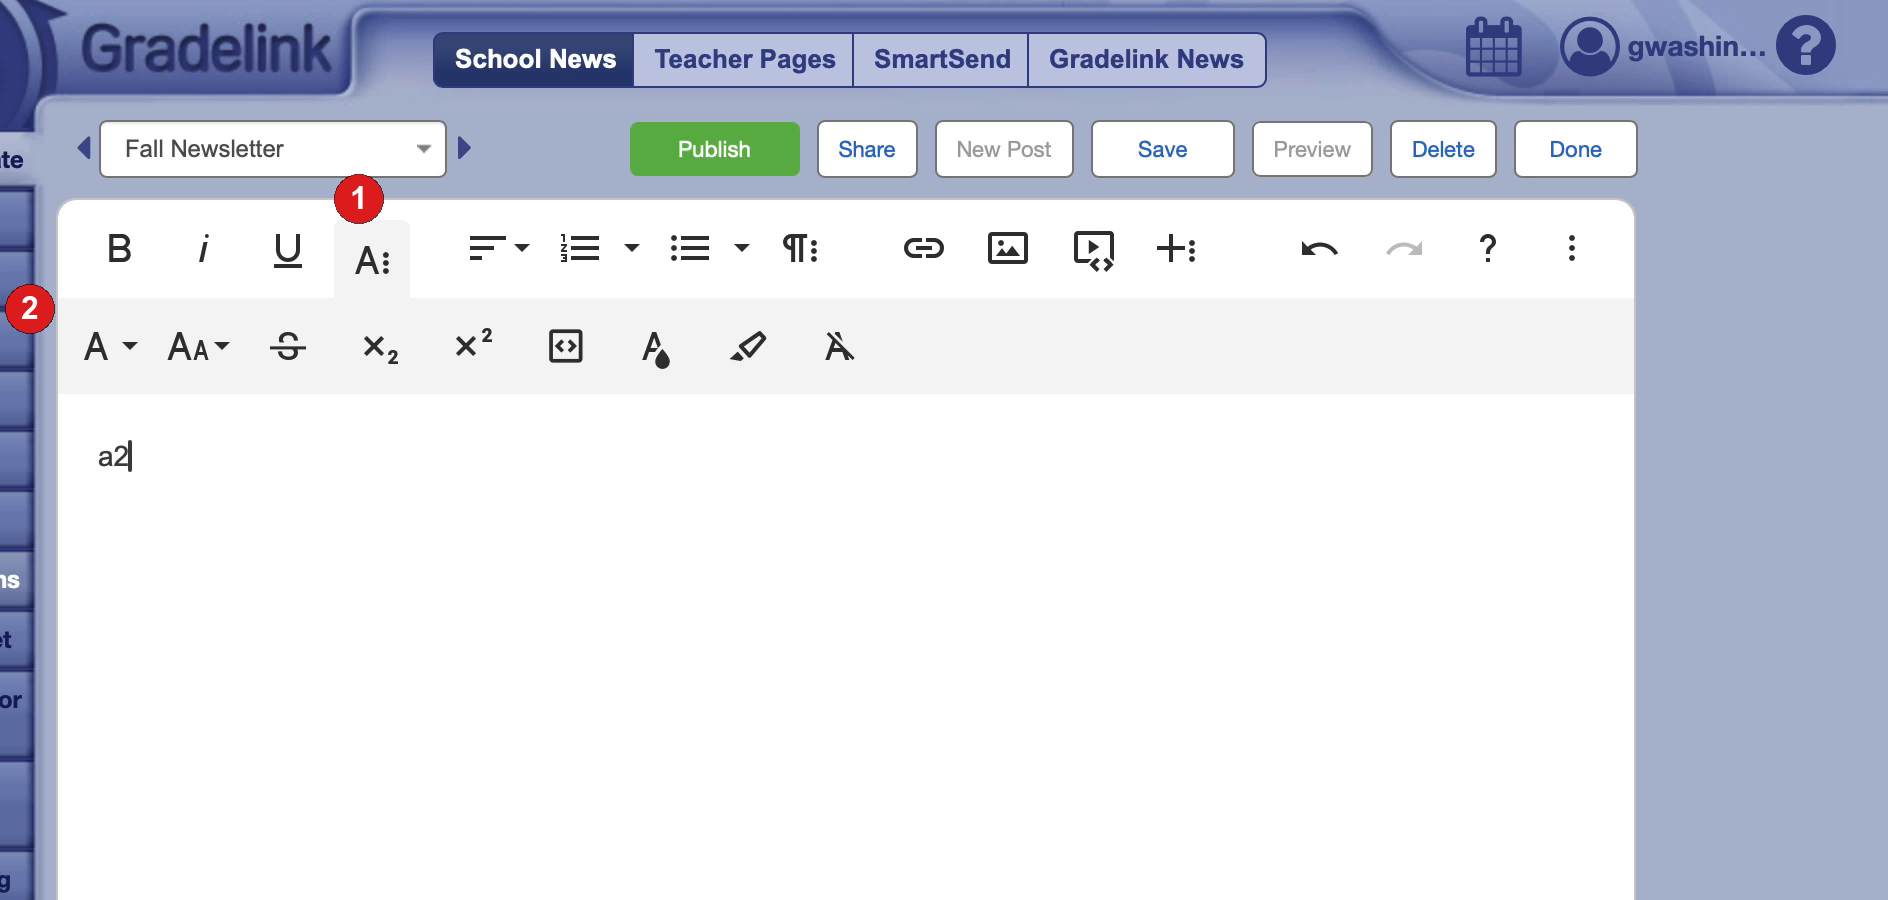
Select text, then use the toolbar for bold, italic, underline, alignment, and lists.
- Open More Text... (the A: control) to show more options.
- Use the extra row for font, size, color, and other formatting.
Add a link:
- Select the text (or place the cursor where you want the link).
- Use the link tool in the toolbar to add the URL.
- Click the link to open its palette if you need to change it.
From the link palette you can open the link, add a style, edit the link, or remove it.
Insert an image:
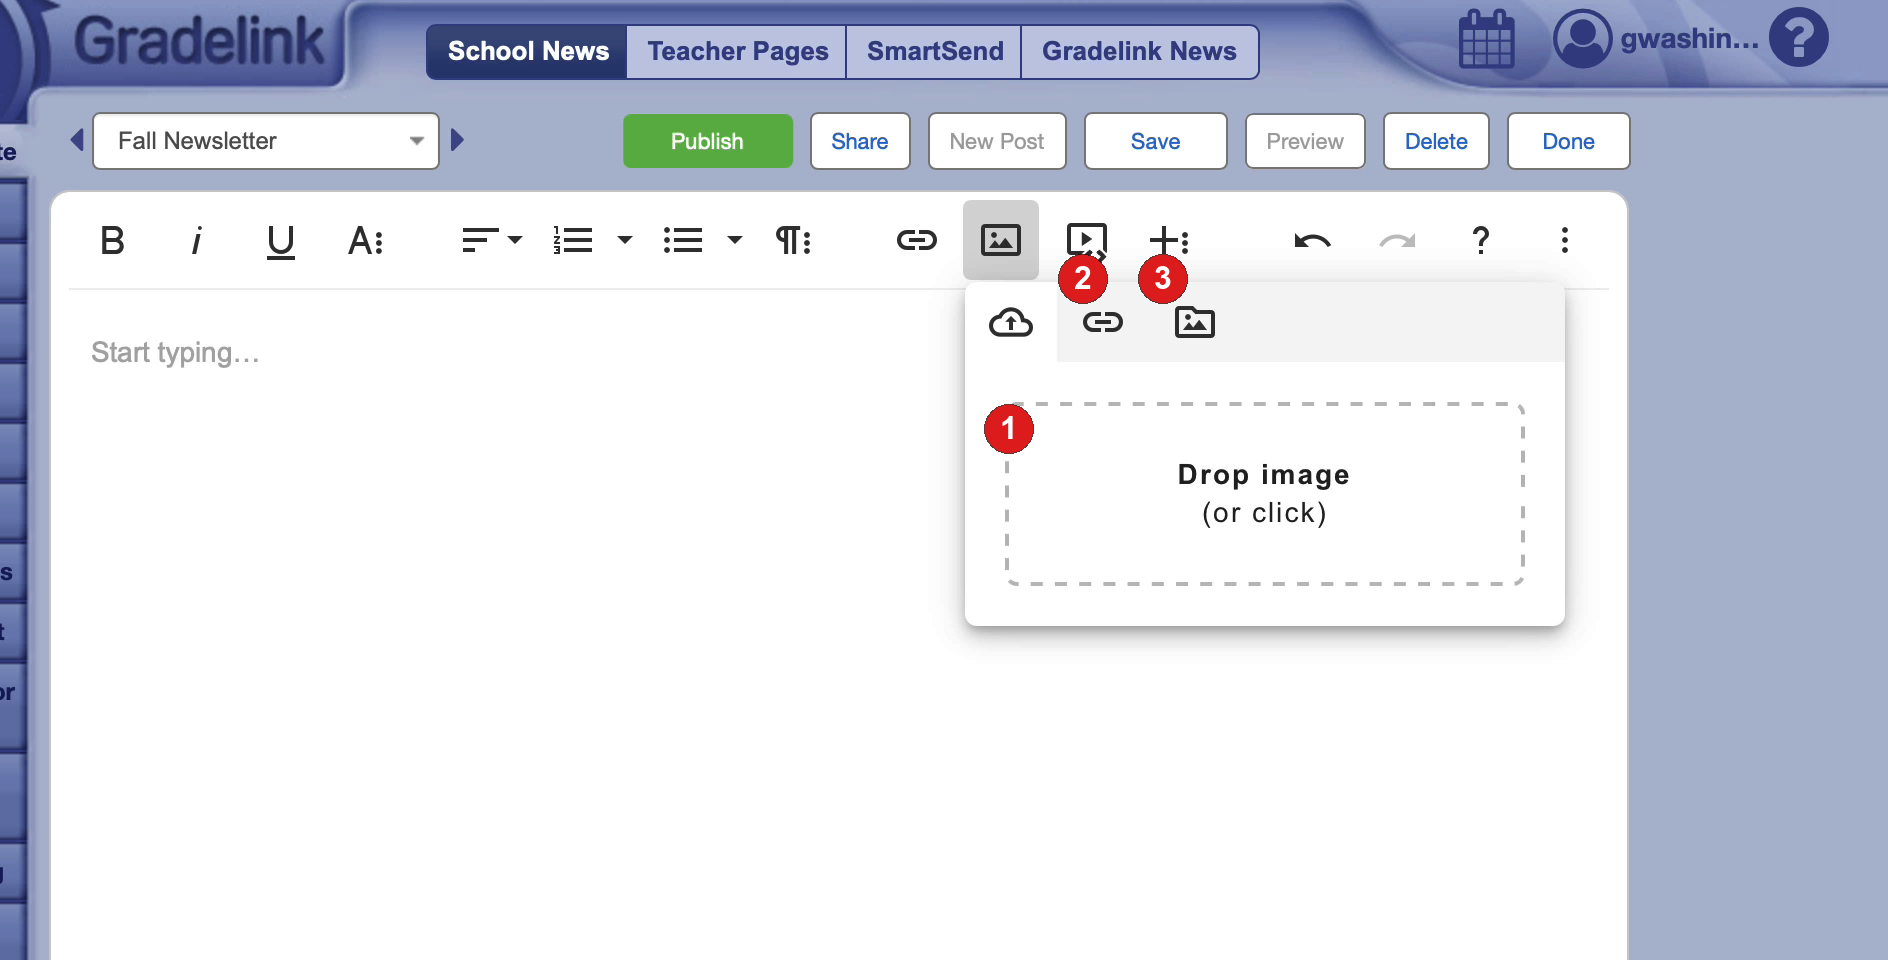
Click the insert image tool. A palette appears.
- Drop an image (or click) to upload from your computer.
- Choose By URL to insert an image from a web address.
- Choose Browse Favorites to insert an image you saved earlier.
After the image is in the post, click it and drag the handles to resize it.
Click the heart to save an image as a favorite. Browse favorites to insert one later.
Note: Images inserted by URL cannot be favorited.
Insert a video or other embed:
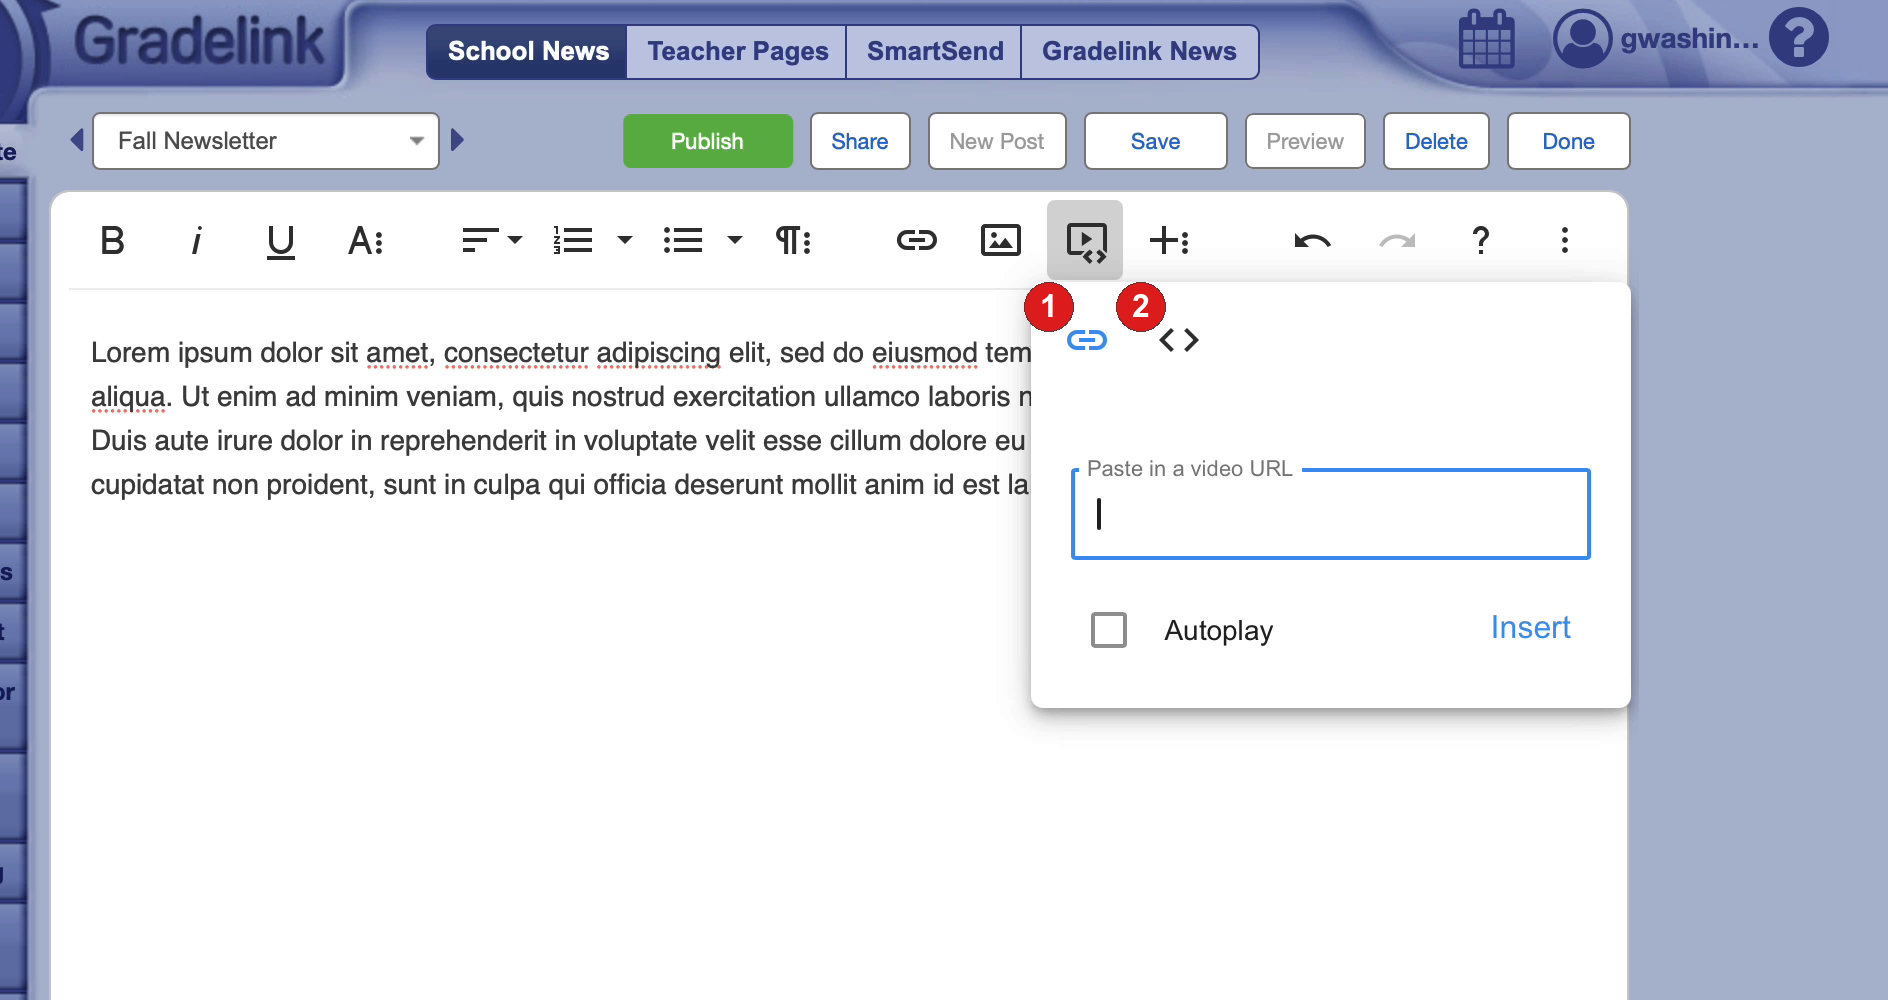
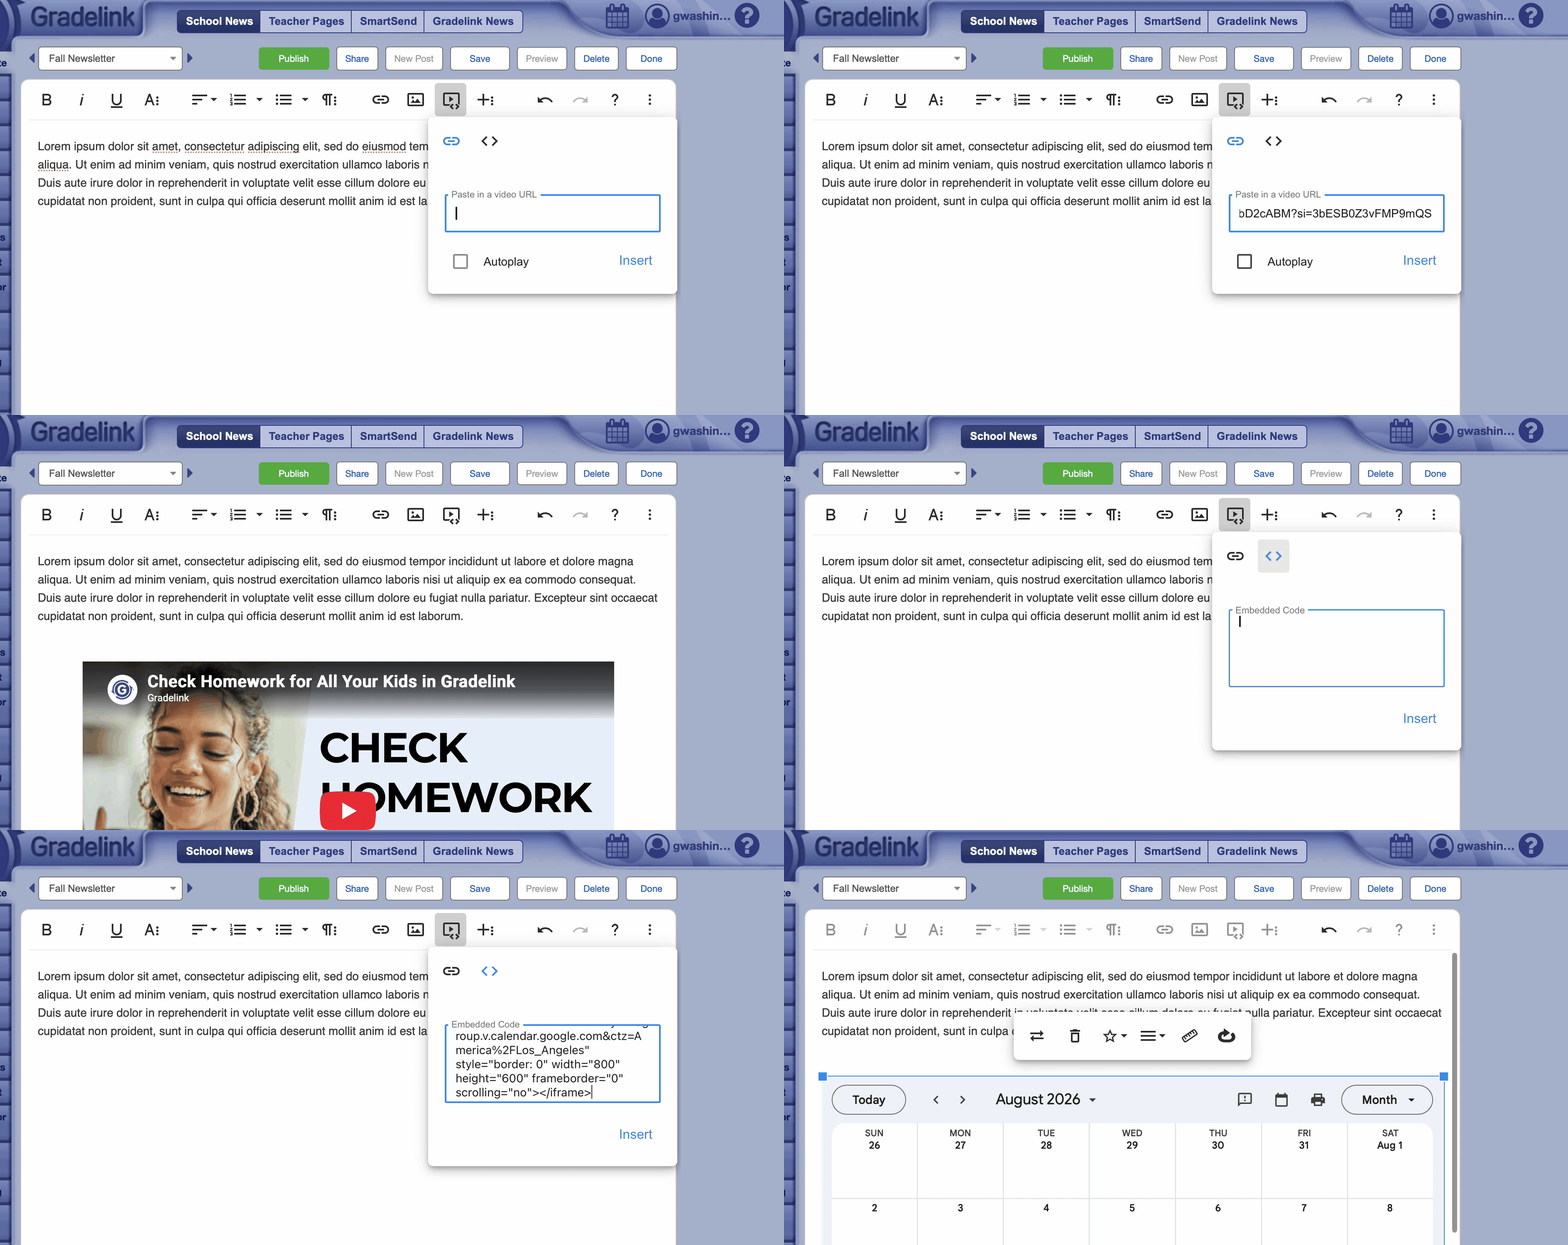
Click the insert video tool. A palette appears.
- Choose By URL to paste a YouTube (or other video) URL. You can turn Autoplay on.
- Choose Embedded code to paste embed/iframe code. This is also how you embed a public Google Calendar.
Then click Insert. A calendar is resizable and interactive after you insert it.
Note: The calendar must be publicly accessible, or visitors will not see it.
The animation below shows inserting a video, then inserting another embed (a Google Calendar) into the post.
Insert a table:
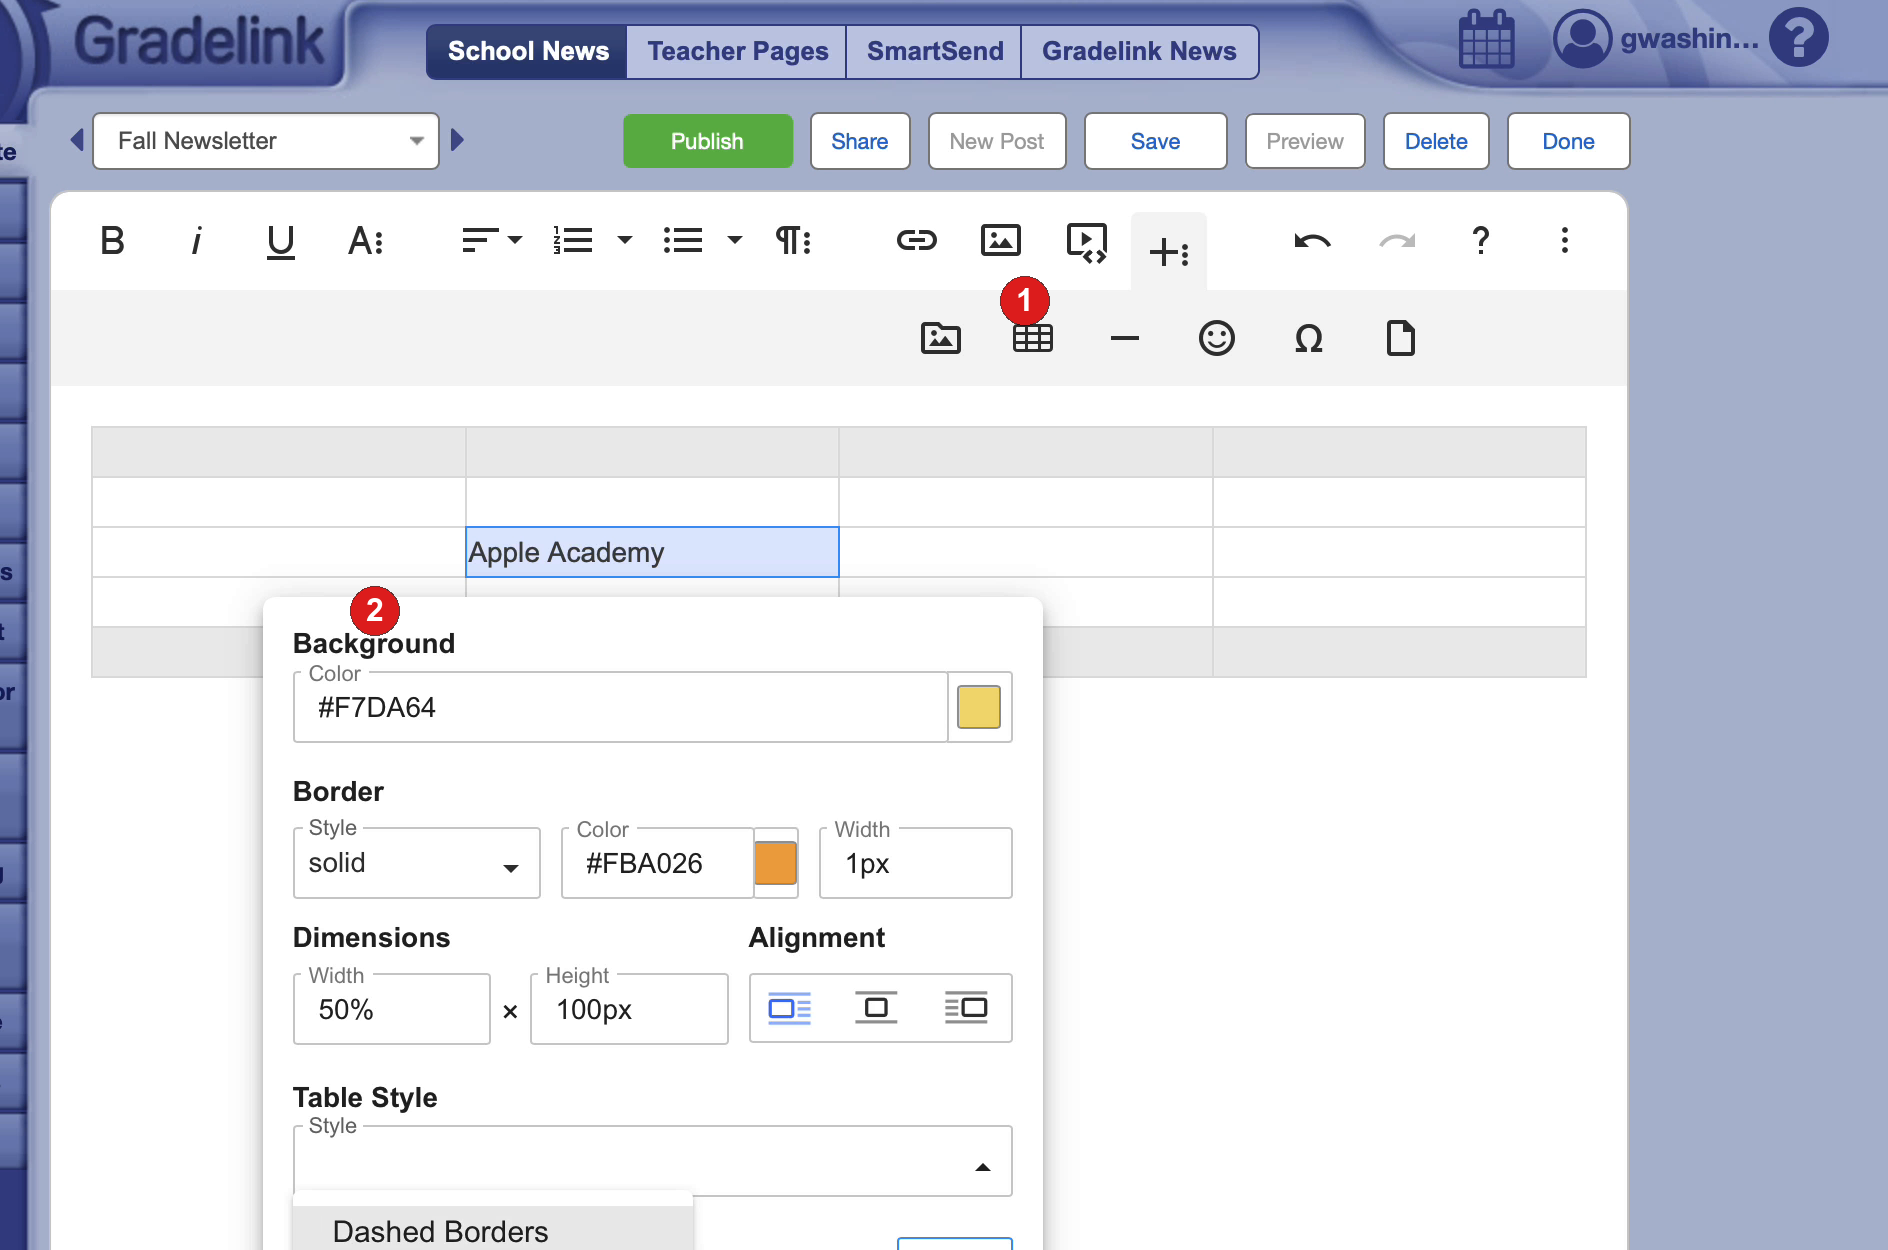
Open the plus (+ ⋮) menu, then:
- Click the table tool and pick the number of rows and columns.
- Click in the table and open table properties to set background color, border, dimensions, and alignment.
A yellow tab selects the whole table so you can drag it. Select one or more cells to use the cell palette.
Note: While multi-column layouts and nested tables are possible, display can vary on mobile devices. We recommend testing on a few screens before publishing when using 2+ columns.
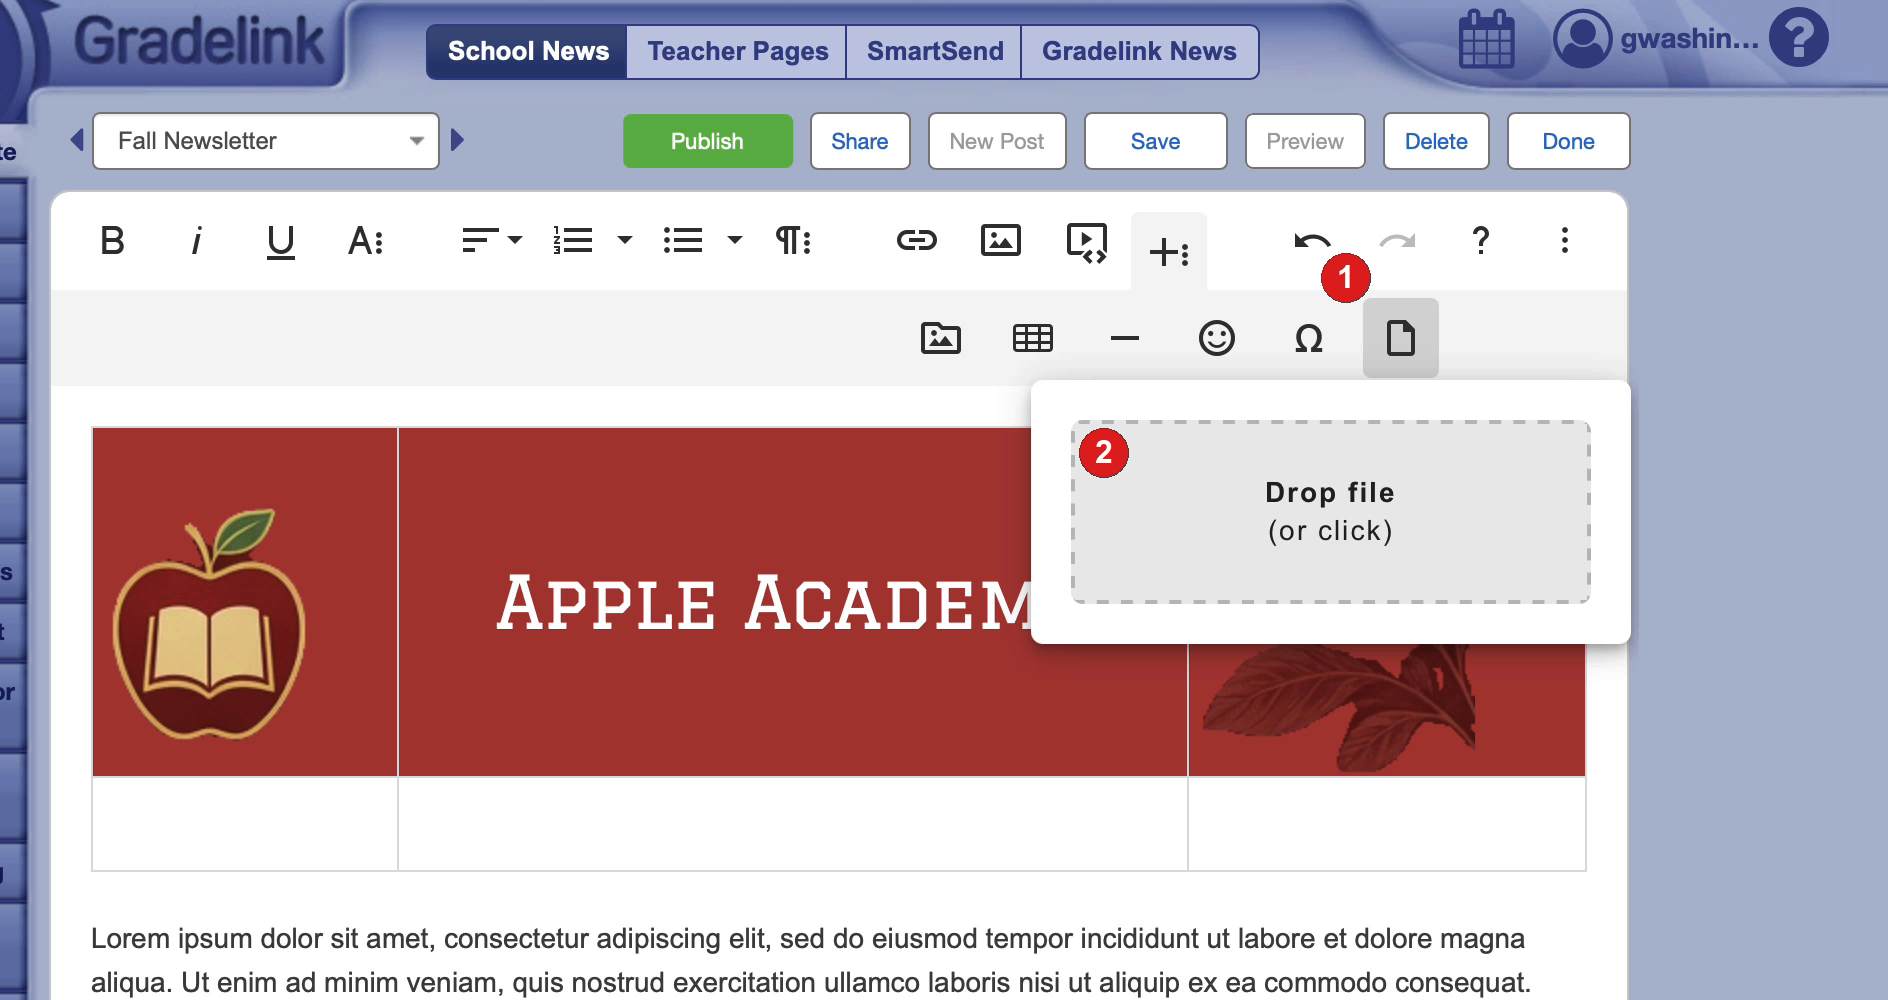
Upload a file:
- Open the plus (+ ⋮) menu and choose upload file.
- Drop a file (or click) to add it.
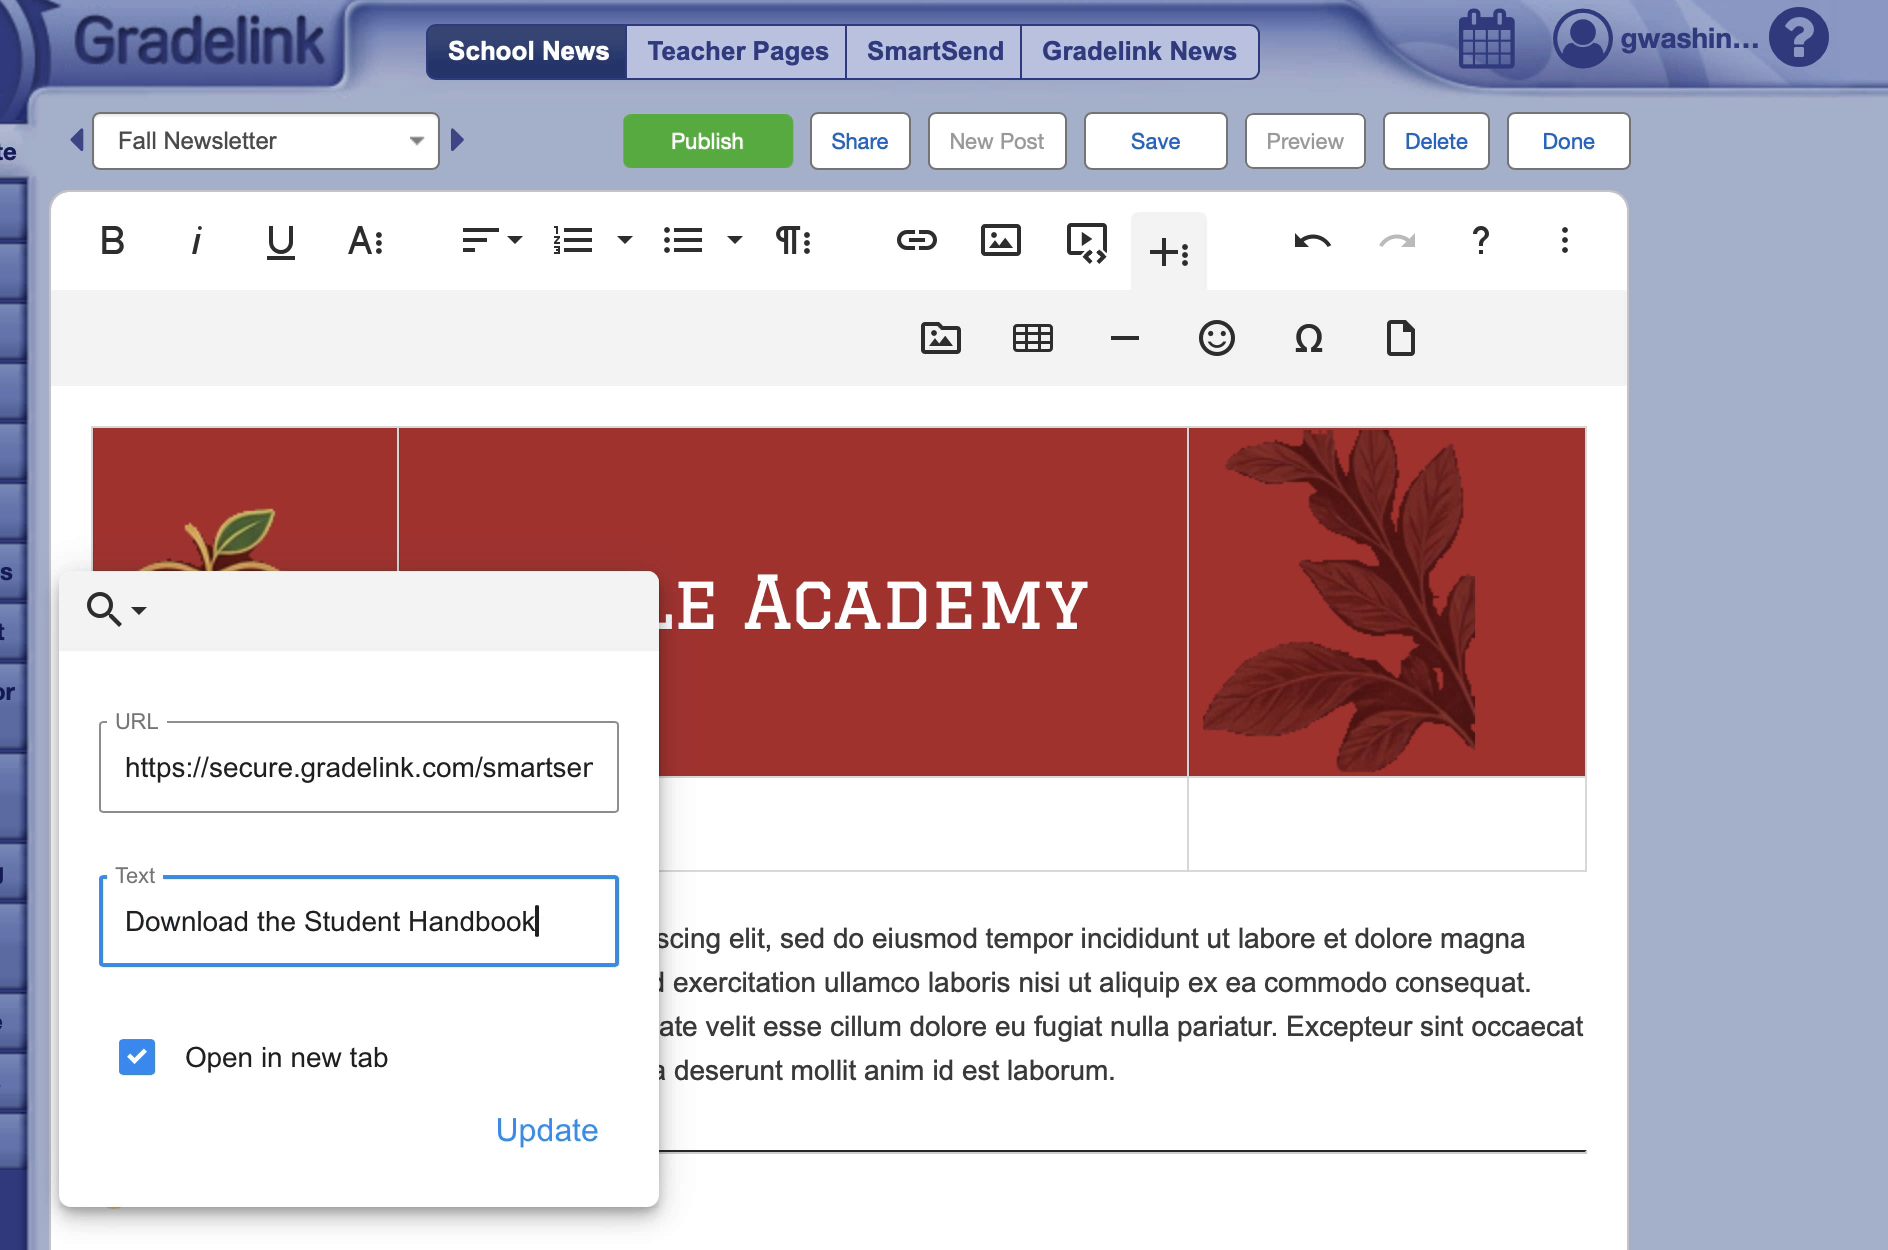
The file appears as a link with the uploaded file name and a paperclip icon. Click that link, then the pencil, to edit the URL and the link title. The screenshot shows editing the title.
Other editor tools:
The plus (+ ⋮) menu also includes a horizontal line, special characters, and browse favorites.
Use undo and redo as needed. Click the question mark for help.
The three dots menu includes:
- Code View
- Select All
- Find and Replace
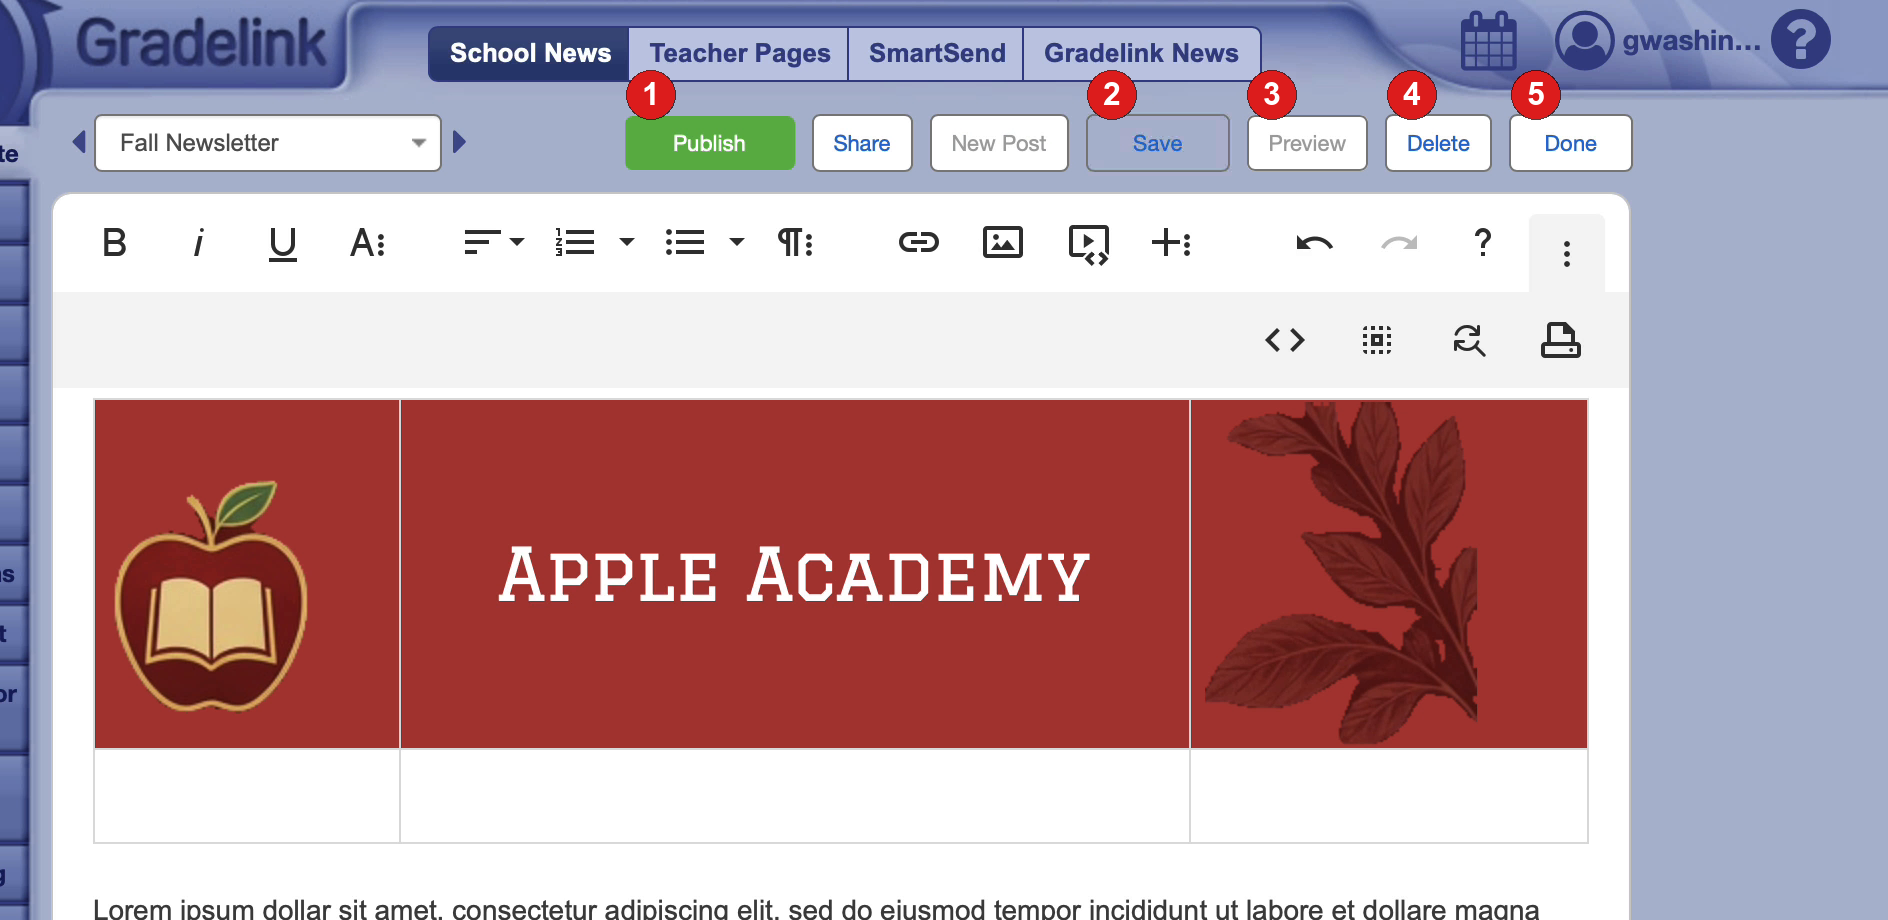
Save, preview, or publish a post:
Use the buttons on the editor action bar:
- Click Publish (green) to publish, or Unpublish (orange) to take a published post down.
- Click Save to store your work.
- Click Preview to see how the post will appear.
- Click Delete to remove a post.
- Click Done when you are finished.
When you click Publish, a Confirm dialog asks if you are ready to publish this post. Click Yes to publish, or Cancel to go back.
Note: Saving is not the same as publishing. Click Save then Done to keep a post unpublished. Click Publish, then Yes, then Done to make it the default visible post.
Teacher Pages:
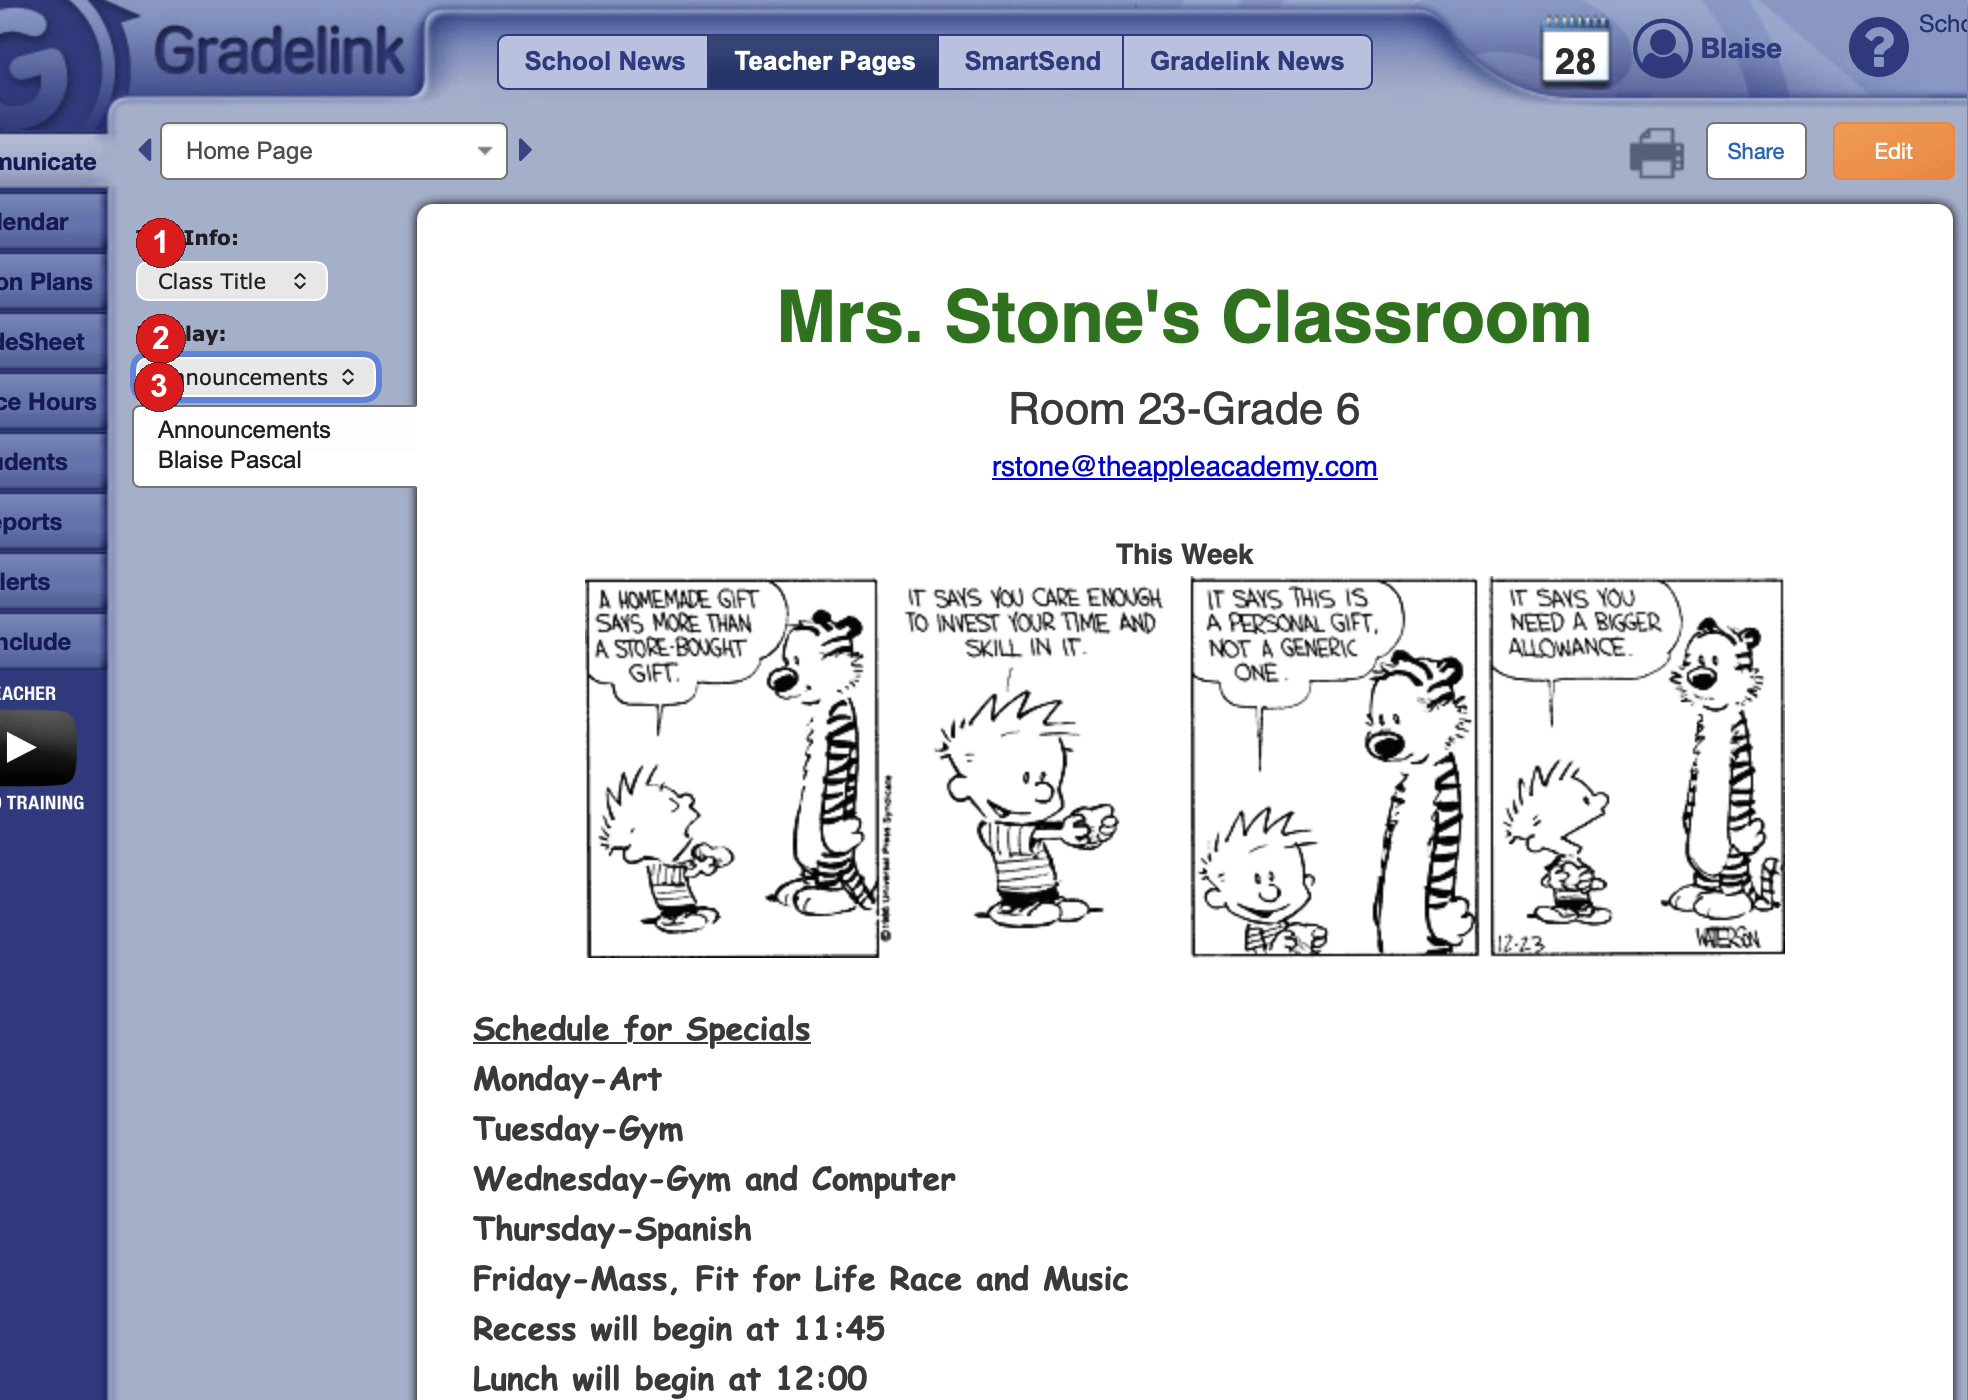
Teacher Pages use the same editor as School News. Each teacher who is granted permission has an announcements page and a class page for each class. Click the Communicate tab, then open the Teacher Pages sub-tab. Use the page dropdown (for example, Home Page) and the left and right arrows to move between pages. Use Print, Share, or Edit on the page preview. Editing uses the same editor as School News.
- Use Tab Info (for example, Class Title) on the left to filter the page list.
- Use Display (for example, All) to show announcements, classrooms, published, unpublished, or all.
- Select a page from the list, such as Announcements or a class page (for example, Mathematics 7).
Use Display to filter to just the tabs you use.
Make content visible to parents and students:
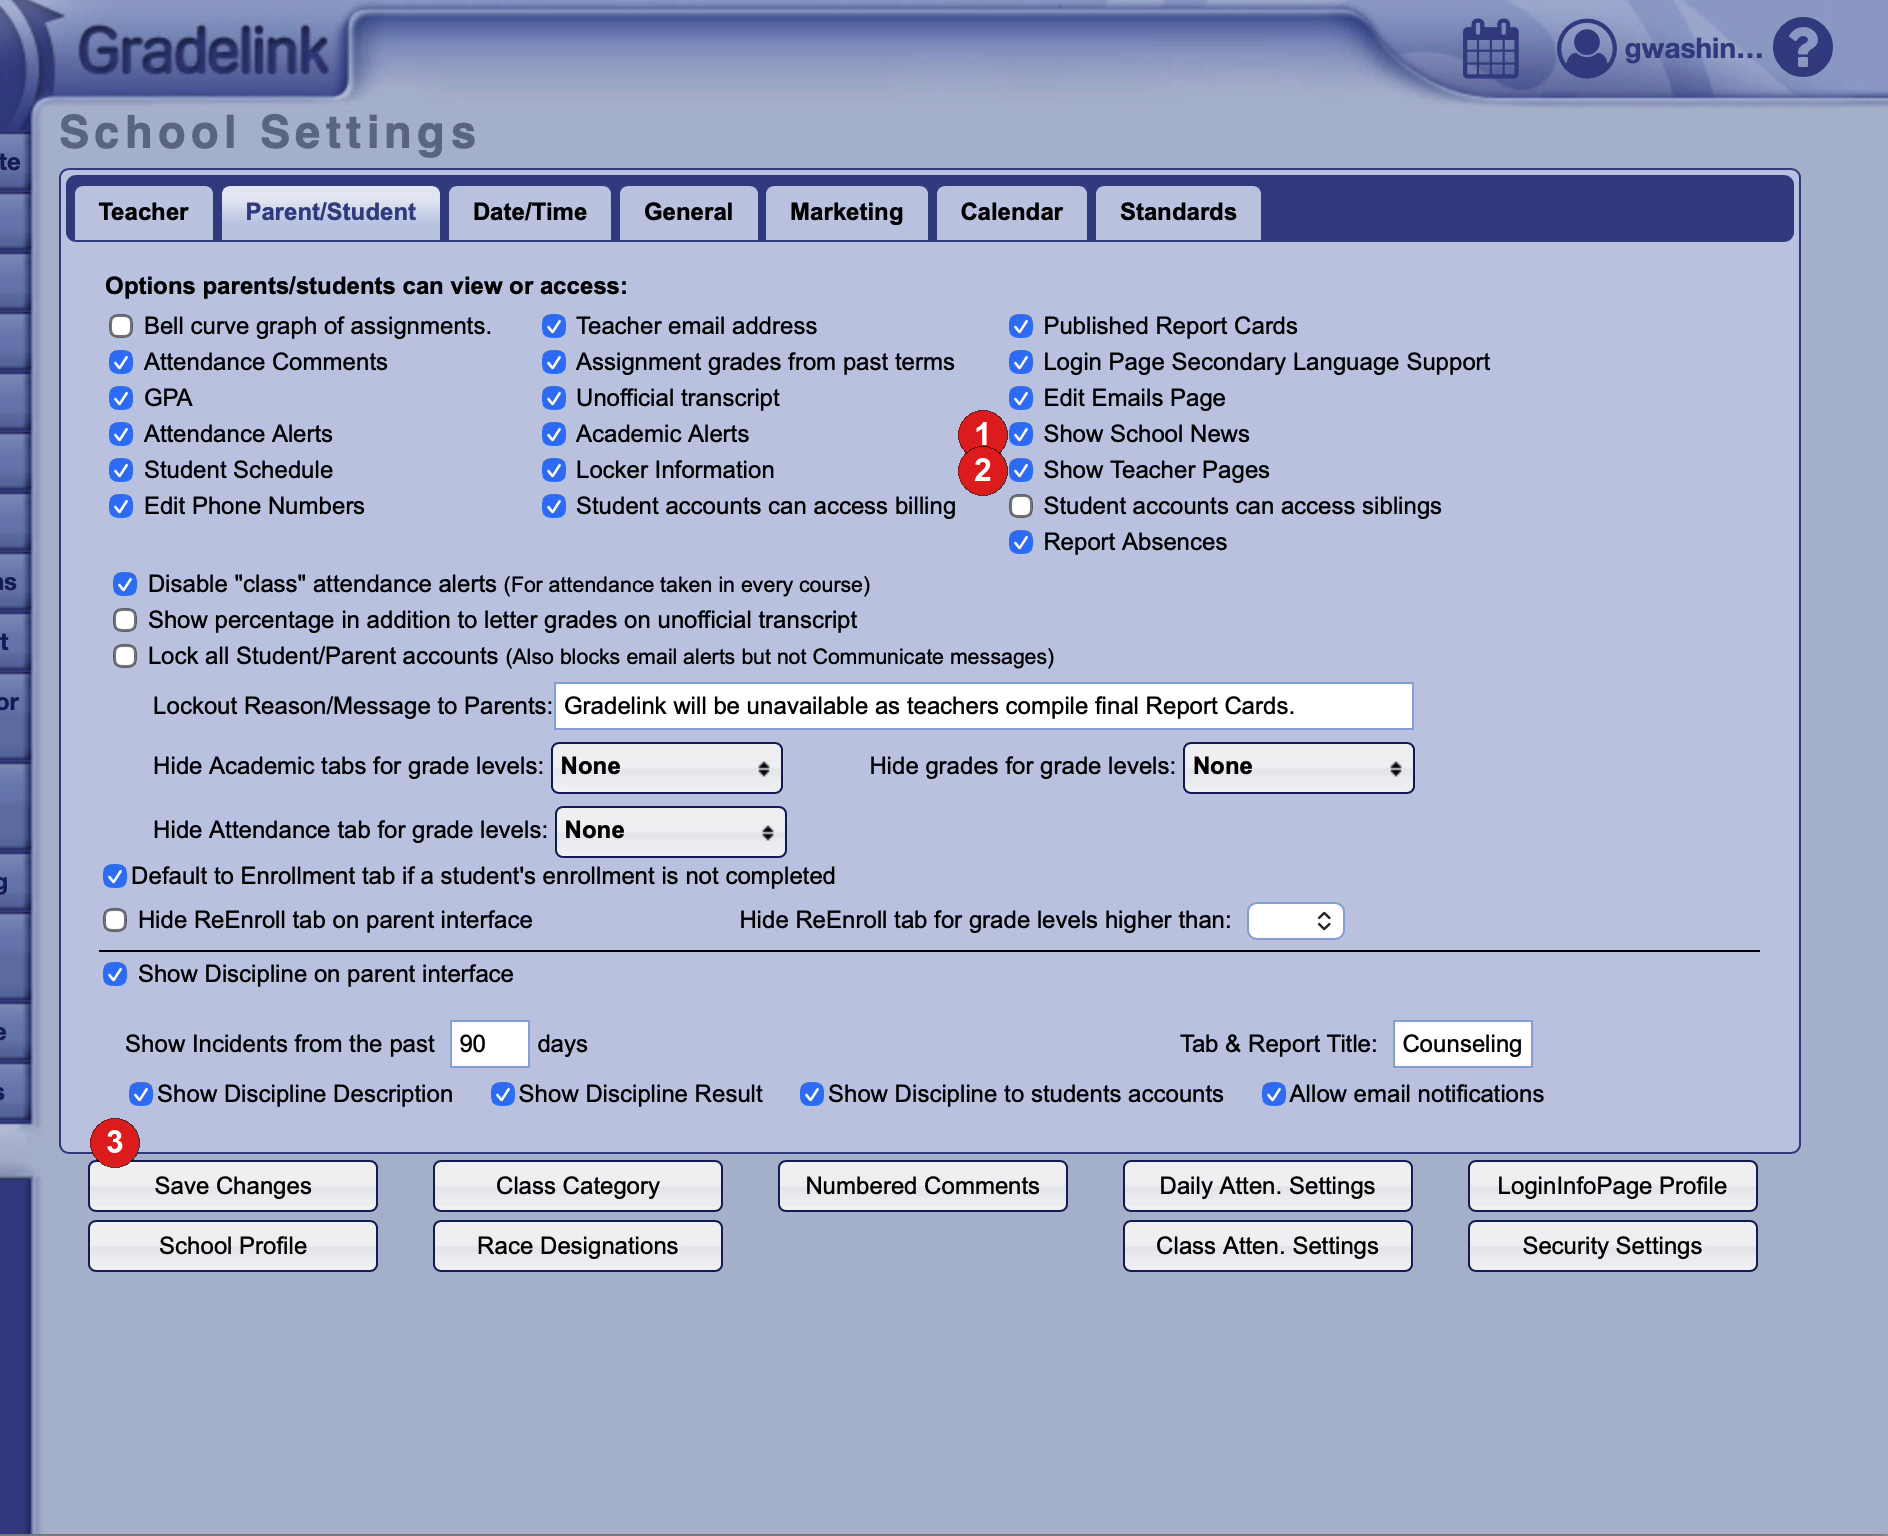
The Communicate ON toggle and the parent/student settings must both be on, or parents and students will not see School News or Teacher Pages. Turn the School News and/or Teacher Pages toggle on in the Communicate tab. Then go to Settings in the left sidebar, open School Settings, and open the Parent/Student tab.
- Select Show School News.
- Select Show Teacher Pages.
- Click Save Changes.
Make sure the post you want them to see is published (not only saved).
Note: If the Communicate toggle is off, School News or Teacher Pages will not appear for staff, parents, or students, even if the Settings options are enabled.